Bits and Bobs: The Makings of a Most Excellent Creativity Lab
When I was young, one town we lived in hosted a pumpkin festival each year at Halloween time. Kids would select a category – like science fiction, famous people, or books – then, decorate their pumpkin accordingly. All the pumpkins were displayed on the courthouse lawn for a week or so with different events throughout, including a parade and an awards ceremony where 1st, 2nd, and 3rd place ribbons were awarded in each category.
One year when I decided to create a pumpkin martian, a neighbor invited me to come by if I needed any supplies. Entering her family room, I was not sure this trip would yield anything of use – until she opened the closet door. This was not an ordinary closet!
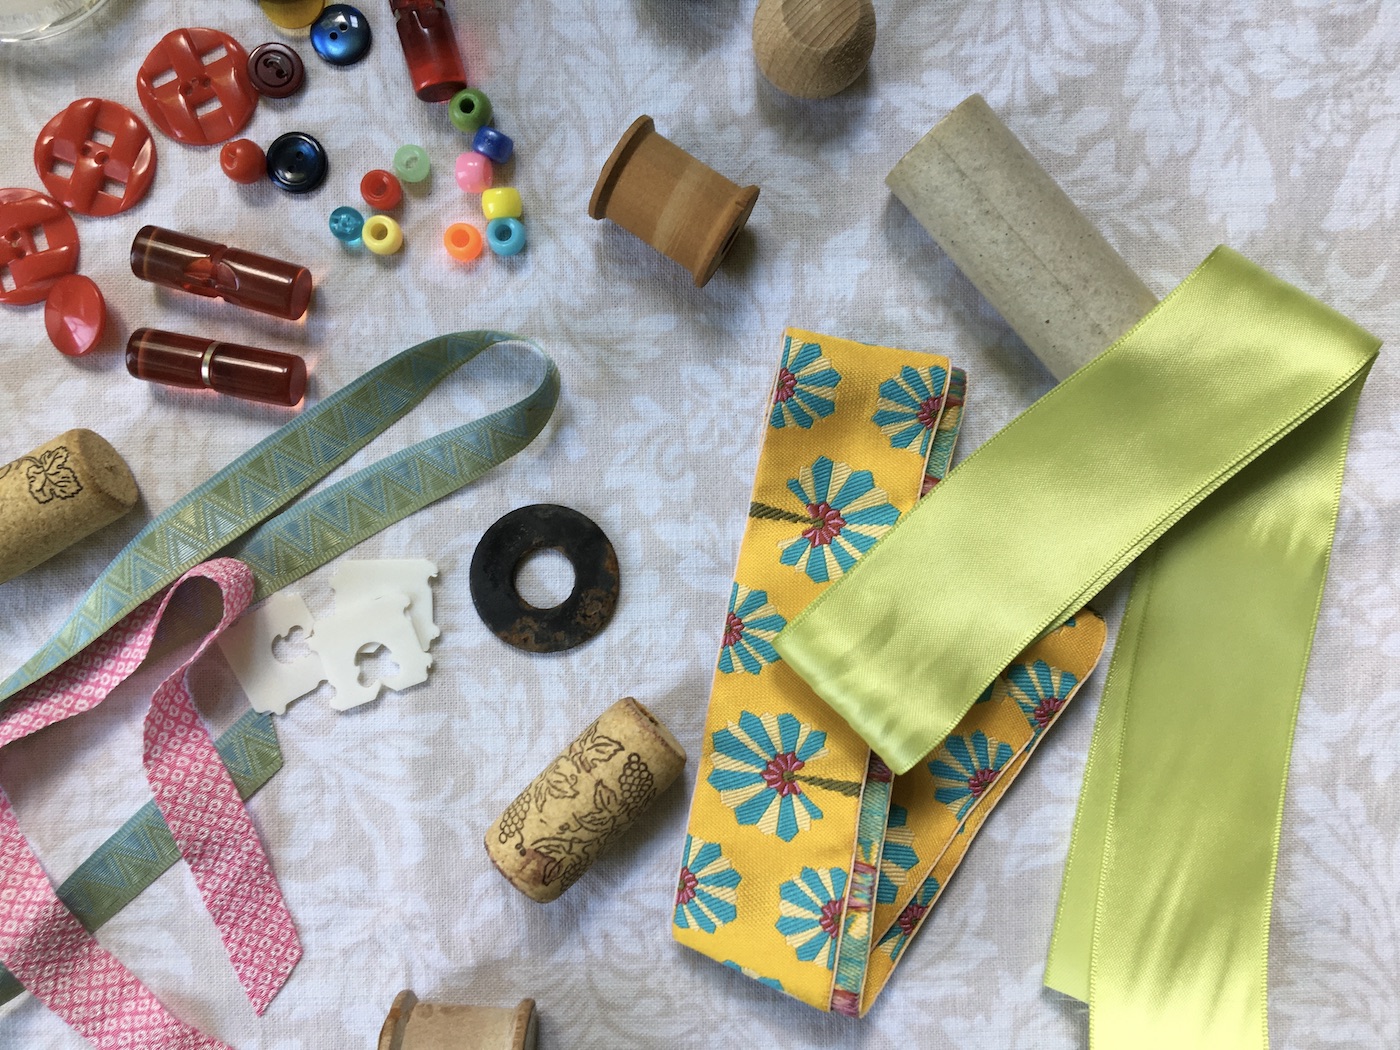
There was a desk with drawing paper, pencils and some small hand tools. On the back wall, above the desk, were several shelves with paint (including a martian-perfect metallic green) and glass jars full of odds and ends – bits and bobs. Toothpaste caps, miniature glass Christmas tree bulbs, googly eyes in many sizes, pipe cleaners, beads, empty thread spools…
With no older brother or cat to get in my way, this space became my creative lab for the next week as I worked on my pumpkin each afternoon after school. While quite pleased when the pumpkin won a ribbon, it did not compare to the joy I felt when I was deep in the process of designing and creating the martian.
When my own kids were growing up, we filled several shoeboxes with an array of objects that might be useful for art and science projects – sewing machine parts, spools, pieces of leather from an old belt… The shoeboxes were in a closet – handy enough for them to pull out and sort through.
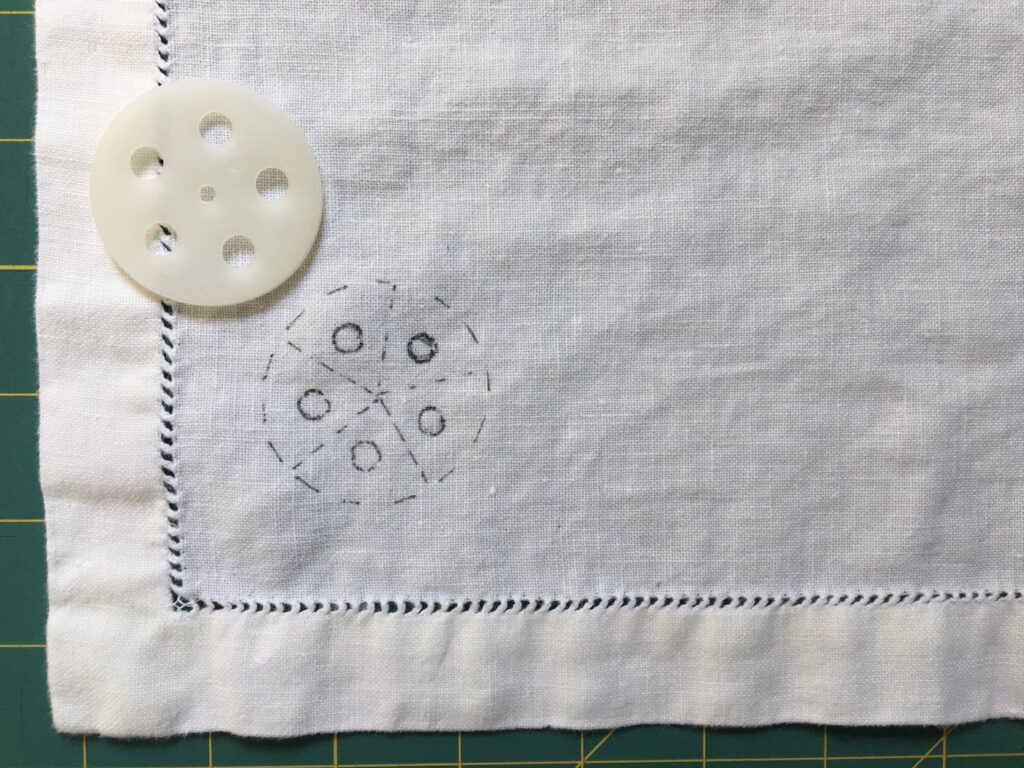
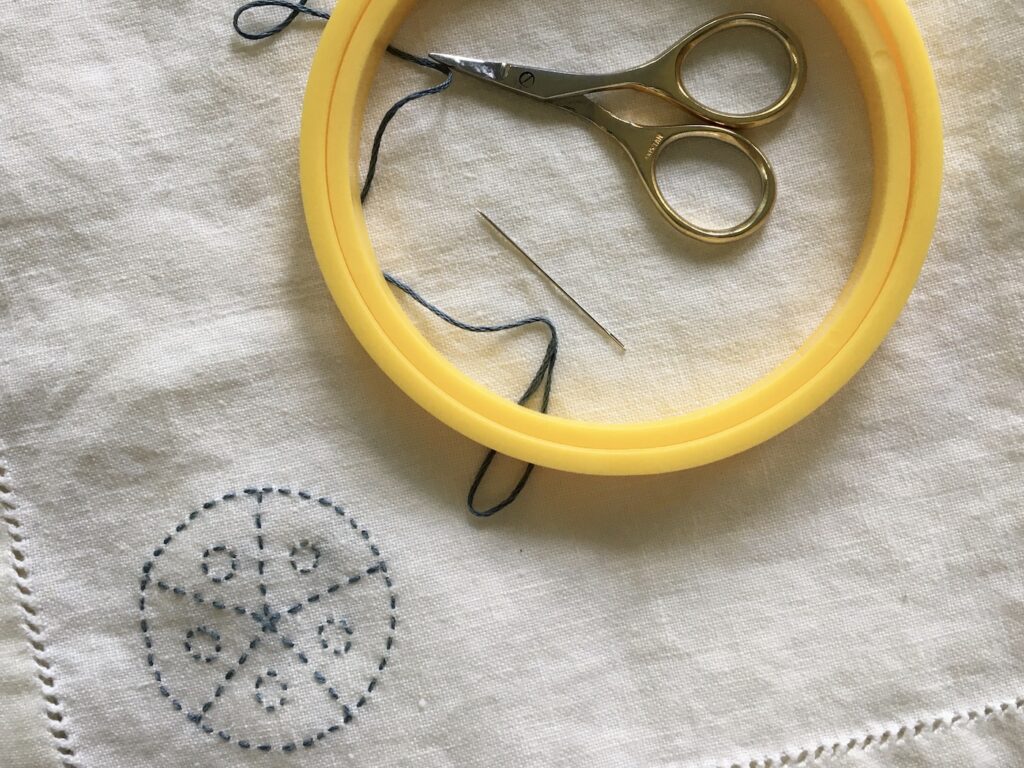
In my sewing studio, I have a random collection of objects that I often turn to when looking for inspiration. Case in point – this spice jar shaker thing that became the basis for the motif stitched on a linen napkin:


So, where to start? Collect and organize the random objects currently stashed in the kitchen junk drawer, in a desk, etc. Next, set up your own creativity lab on a closet shelf or in the corner of a room. Then, of course, play! Here are some ideas:
- Make a mobile.
- Make a small sculpture for the middle of the dinner table. You could even change it out several times a week, taking turns with other family members.
- Sketch an object or two, playing with color and layout.
- Use the object as a starting point for an embroidery project as I did above.
Happy Making!

