
The beauty of being a maker is that you get to decide whether to pull out all the stops on a project or keep it simple. It’s all in the design choices you make along the way. Even for a simple sunglass case. Decisions such as:
- Fabrics – cotton, washable velvet, felted wool…
- Technique – hand sewing or machine
- Embellishments (or not) – embroidery, applique, beading…
- Thread – silk, embroidery floss, sashiko thread…
The instructions below for making a sunglass case were first posted on my previous blog in 2012 – kids were at home and time was limited. I needed a new sunglass case like yesterday so I went with the 2-hour version, nothing fancy at all. It’s a bit worn now but still in use. For the next one, I’m upping my game a bit with the hand-drawn, wavy line design pictured at the top of this post.
So, you decide – simple or fancy, then get making!
Step 1 – Cut out two pieces of fabric – one for the lining and one for the outside – each measuring 9-1/2″ x 8-3/4″. If you have a fabric sunglass case that works for you now, just measure it, adding 1/2″ for each seam allowance.
Step 2 – Cut out one piece of batting, slightly smaller than the fabric pieces. For my case, I cut the batting 8-3/4″ x 8-1/4″.
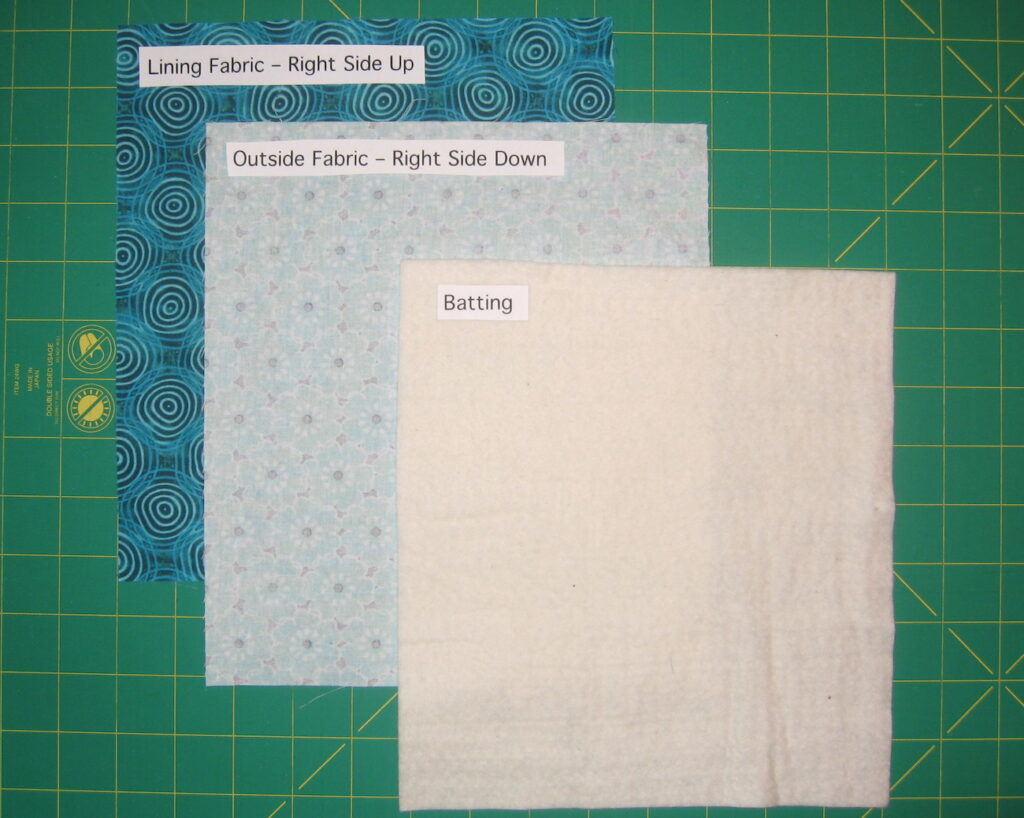
Step 3 – Make the quilt sandwich in the sequence indicated in the image below. Lay each cut piece on your table, smoothing each one so that there are no wrinkles. Next, pin the layers all together to hold them in place while you stitch.
Step 4 – Stitch around the edges using a 1/2″ seam and leave a gap of about 4″ along one edge for turning. If you have a walking foot for your machine, use that for best results. When finished stitching, clip the corners, turn right-side out, and press. Stitch the opening closed using your sewing machine and stitching close to the edge.
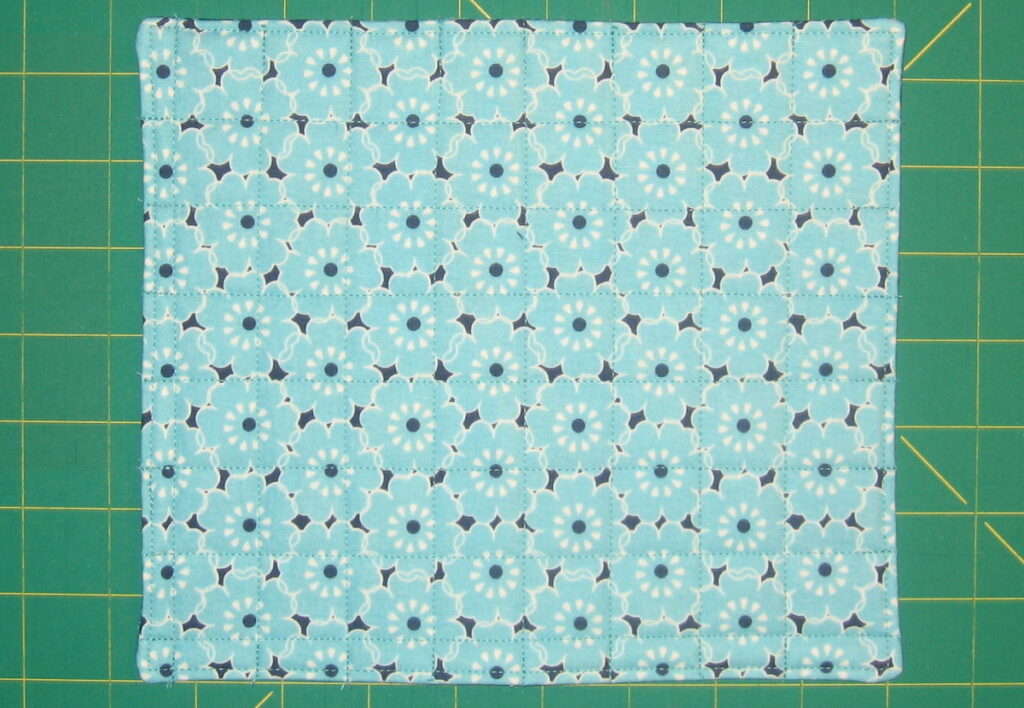
Step 5 – Quilt by hand or machine. Experiment with different quilting stitches to see what you like best.
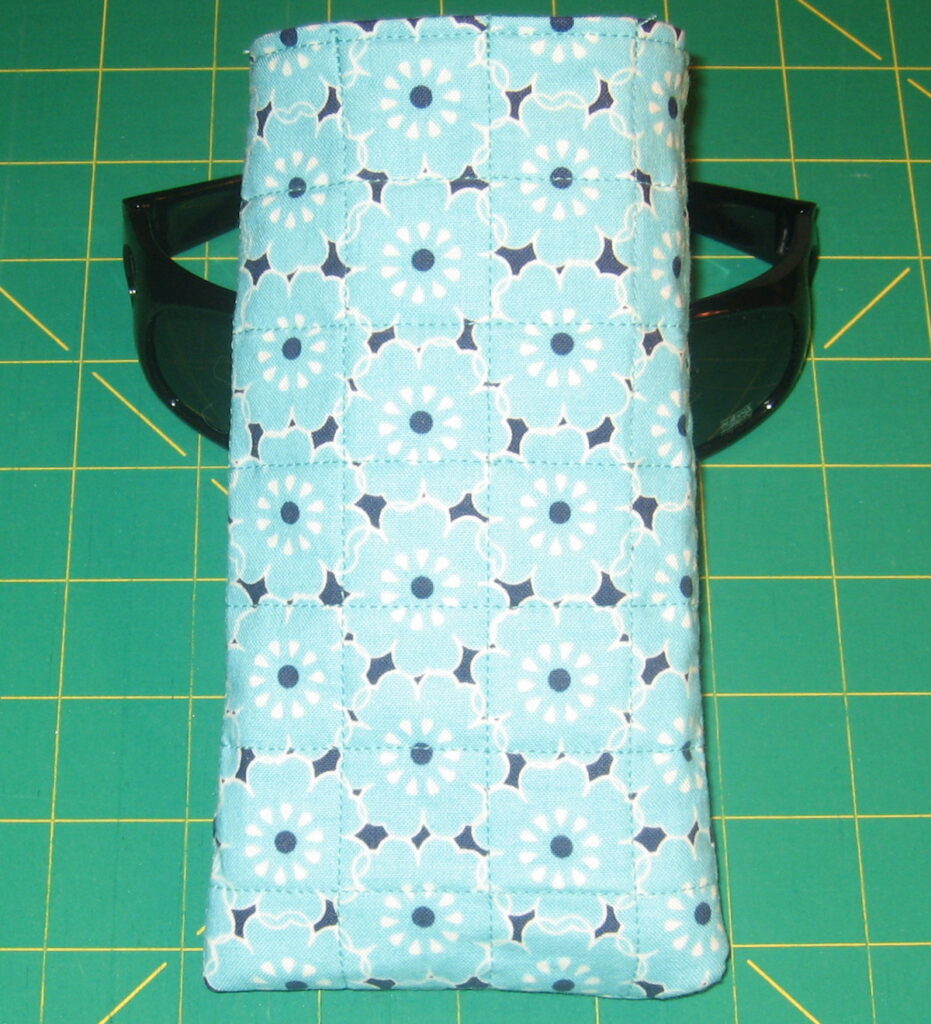
Step 6 – Fold the quilted piece in half lengthwise, right sides together, and stitch the bottom and side seams using a 1/4″ seam allowance. Turn, press, enjoy!
Comments are closed for this article!