Transforming Envelopes into Art
If you look at a Tyvek mailing envelope up close, you see what looks like iridescent fibers and feels like a cross between paper and cloth. Manufactured by DuPont, Tyvek is a non-woven material, and according to their website, is made of “100% high density polyethylene fibers randomly laid and compressed to form a remarkably tough printing substrate that is ideal for applications where durability and tear resistance is of prime importance.” You’ll find it in building materials, envelopes, reusable bags, building signs…
I like Tyvek for its water-proof properties, especially when mailing something important (like fabric or taxes) And, I feel guilty every time I send or receive something in a mailer, even though DuPont says it’s a recyclable material.
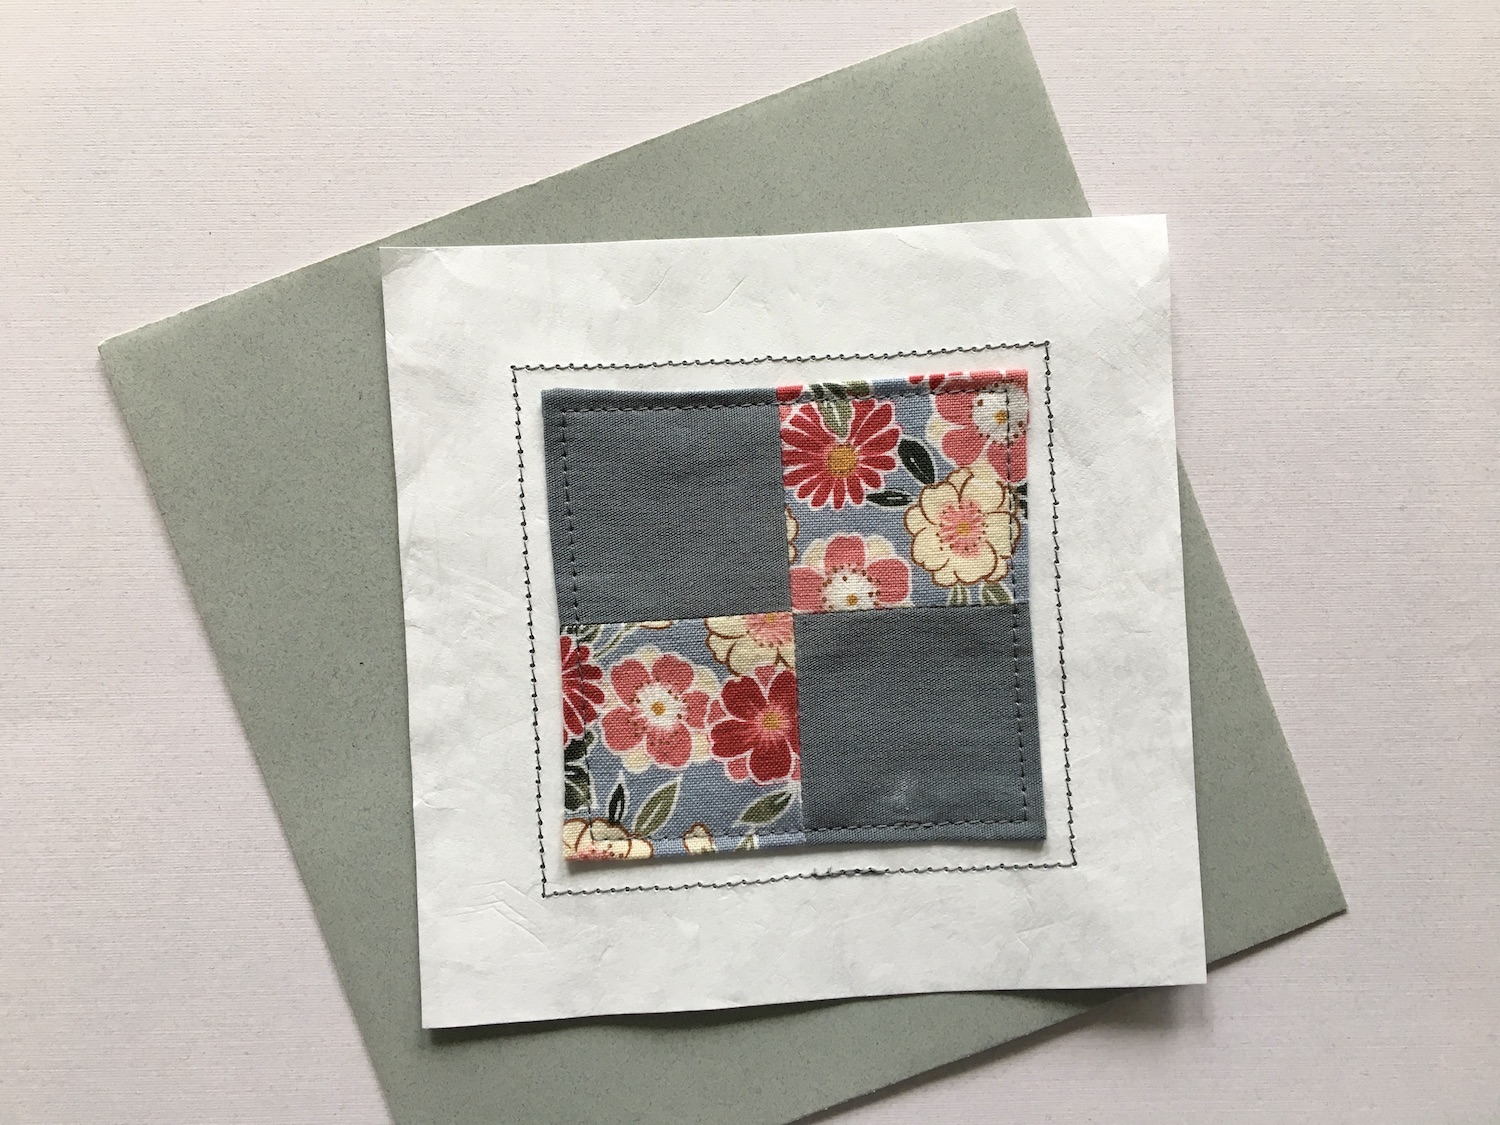
So, when a package arrived the other day in a Tyvek envelope, I decided to extend its life in a new direction: Using it and few scraps of fabric from an earlier project, I made a small quilt block, then stitched it to a piece of Tyvek. I wrote a get-well message on the back and will mail it to a friend tomorrow.
Here are the steps:
- Gather some fabric pieces and a used Tyvek envelope.
- Design your quilt block. Consider incorporating envelope seams, stamps, and the postage mark into the design. Also consider how you intend to use the finished piece. For example, will you write a message on the back and mail to a friend, tack it on your inspiration board…
- Cut out your pieces, allowing for a 1/4″ seam allowance. For the one-patch quilt pattern in the photo, I cut 4 squares (2 from each fabric) measuring 2″ x 2″.
- Stitch the block pieces together (1/4″ seam allowance) using a needle and thread or sewing machine.
- Stitch the block to a piece of Tyvek. Use tape to hold the block in place while stitching, removing it before the needle pierces the tape. This prevents the needle from getting gummed up. (Note: Pins will leave a permanent hole in the Tyvek, so tape works best.)
- Use a longer stitch length – or decorative stitch to add a border around the block. Be sure to use tacking stitches at beginning and end so that the stitches don’t pull out.
Several additional notes to keep in mind:
- Do not iron the Tyvek – only finger press – because it will melt if your iron is hot enough.
- You can paint Tyvek with acrylic or fabric paints. Just paint, wipe off any excess and then let dry before using in your project.
- If you are writing on the back, test on a scrap of the envelope first to make sure the ink does not soak through onto your block – or that your message does not smear. I wrote on the back using a Uni-Ball Signo fine point gel pen (0.28mm tip).
To see other ideas on how to transform mailers into something both useful and beautiful, check out Reinvention: Sewing with Rescued Materials by Maya Donenfeld, available through your local bookstore and, hopefully, library.

