Mini Twig Sculptures

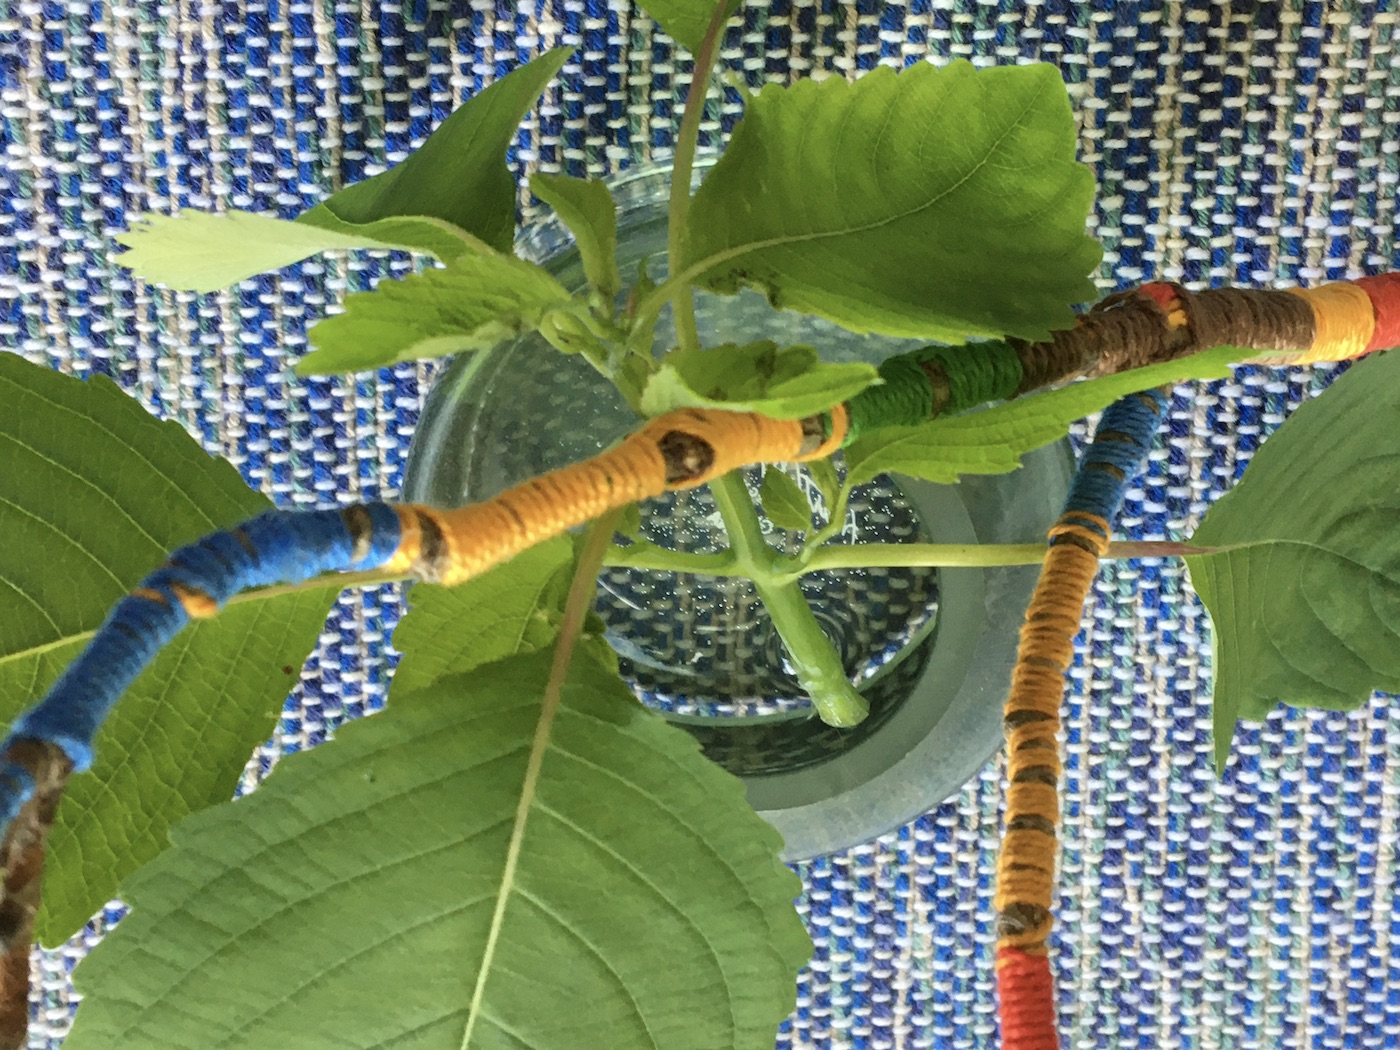
Twig wrapped in perle cotton beneath woven through leaves

Some years back, my family and I took in Steve Tobin’s Steelroots exhibit at The Morton Arboretum. Inspired by what we saw, my daughter and I came home and made our own mini sculptures from twigs we collected in our yard and perle cotton. Recently, I came across one of the twigs stuck in a vase that had somehow made its way to the back of a cabinet.

To make the sculptures, we looked for twigs with an interesting form – if there were scars or other interesting marks, we left those sections unwrapped. We played with different lengths of perle cotton – sometimes using just pinks or greens, other times using multiple colors.

When finished, we laid them on a table in the hallway where they were constantly rearranged every time someone walked by. Other found made their way into the “exhibit” – rocks, an acorn, a paper snake, origami birds… This time around, I pulled an interesting (but pesky) weed from the yard and put it in a vase on the kitchen table. And, then of course, the play began: weaving the wrapped twig into the leaves different ways, laying it beneath the leaves, propping it up alongside the vase…

For a fun creative break today, take a walk and gather some interesting twigs of your own, then wrap them in perle cotton, yarn, twine, kitchen string, cording or whatever fiber you have on hand. Arrange the mini sculptures on a table or your desk – and then rearrange again and again!

Exercising Your Creativity Muscle

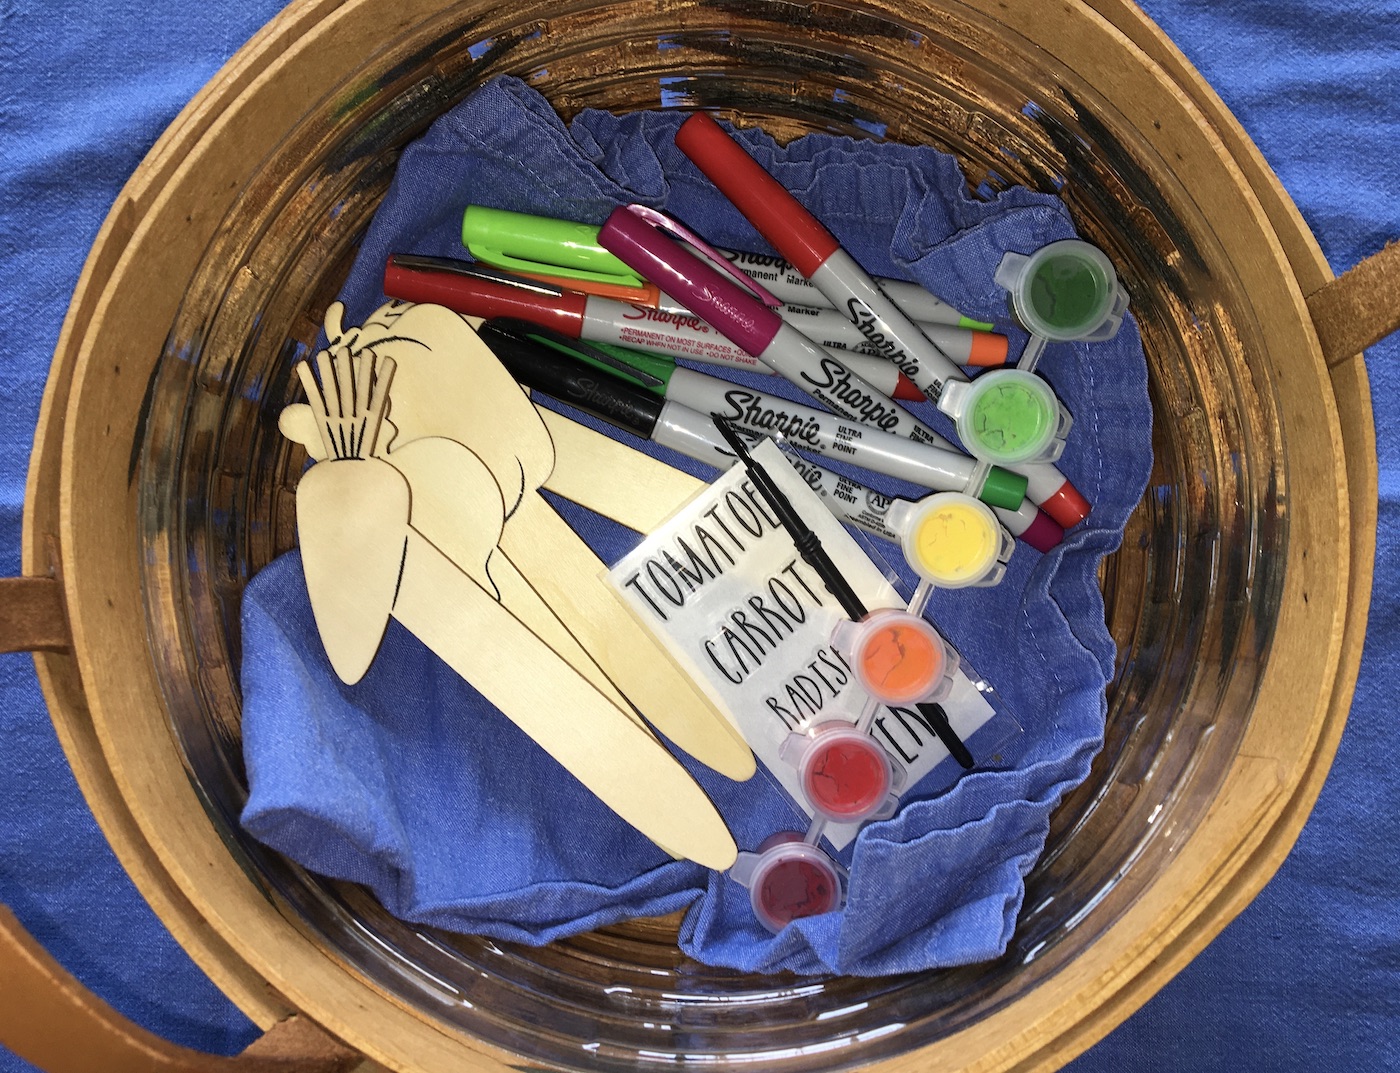
Basket with Vegetable Garden Plant Markers to Decorate

Creativity has been likened to a muscle: We all have it – we just have to work to strengthen it so that we can reap the rewards.

Over the last few months, with sheltering in place and social distancing the new normal, implementing a daily creative practice is as important as ever. Our world feels a bit smaller, our days a tad mixed up (“Is this Sunday or Monday?”), and our work-life boundaries totally blurred (think kids playing at your feet while you’re trying to get work done, office texts and emails still flowing in at 8 or 9pm, or extra long shifts at the hospital). Expressing ourselves through writing, drawing, painting, sewing, quilting… can help provide a much-needed, nourishing break from the challenges we are facing in our lives right now.

And, if setting aside time to make and create sounds a bit indulgent these days, it’s not. The spillover effect I mention here – Step #6 on the Art Everyday page – is well documented. For example, this Fast Company article from a few years back talks about that spark we feel or breakthrough we have after engaging in a creative practice.

Decide on the best time to fit a creative break into your day, experimenting to see when you get the most benefit: Do you want to use the practice as a warm-up exercise for the day, a mid-day boost, or a transition from your workday to home life. It does not have to be a big chunk of time – committing to 15 minutes a day can make a big difference.

I’ve always got several projects going on in my studio at any given time. However, I keep a basket for just one simple, self-contained project. It sits in my office, ready to go when I need a creative break (usually at the end of the day). The projects rotate: Right now, I’ve stashed a vegetable marker kit from Target. The original kit had paints, which now look dried up, but we’ll see when I get to work. I might instead fill the space up with different patterns using Sharpies instead. It might take me all week to finish the project but the point is that it’s easy to start and stop and all my supplies are in one place, making it hard not to begin. Once this project is finished, I’ll find something else to put in the basket.

My recommendation is that as you develop a creative habit, keep it simple and start with what you enjoy – at least at the beginning. First find a container, something that works for the space you are working in and is portable – a basket or tote bag works best. Then, if you like to write, add a journal or notebook and your favorite pen or pencil to the basket. If you want to spend time each day working with watercolors, stash a small water color set, brush, and a 6″ x 6″ pad of watercolor paper in the basket…

If you have kids, consider making a basket up for each of them that is age appropriate and, ideally, something they can do by themselves at a time when they most need it. For example, a potholder kit, paper and instructions for making paper airplanes (include different kinds of paper to see what flies best!), or a coloring book and crayons.

I’ve long said that when I have a problem to be solved, the best way to figure it out, is to spend time in my studio making. Getting lost in the flow of making frees up headspace to think more creatively, beyond the box – first, in what I am actually doing in the studio and then for the problem/issue I’m trying to resolve.

In the coming weeks, months, and years, creativity will be key to generating new ideas for rebuilding our lives, our communities, our healthcare systems and, well, pretty much everything. And, throughout this process of creating new, focusing on lessons learned from the past, listening to experts, and cultivating out-of-the box thinking so that the end result benefits everyone and addresses what hasn’t worked in the past. Like many things, we can start at home – thinking more creatively about how we solve problems there and at work, then build from there.

So start flexing your creative muscle by building a daily creative practice, stick to it, and enjoy the process and spillover effect! Read more about building a creative habit here. Connect with us on Facebook to see some additional ideas in the coming days of what to put in your basket.

Picking Up, Cleaning Up, Finishing Up

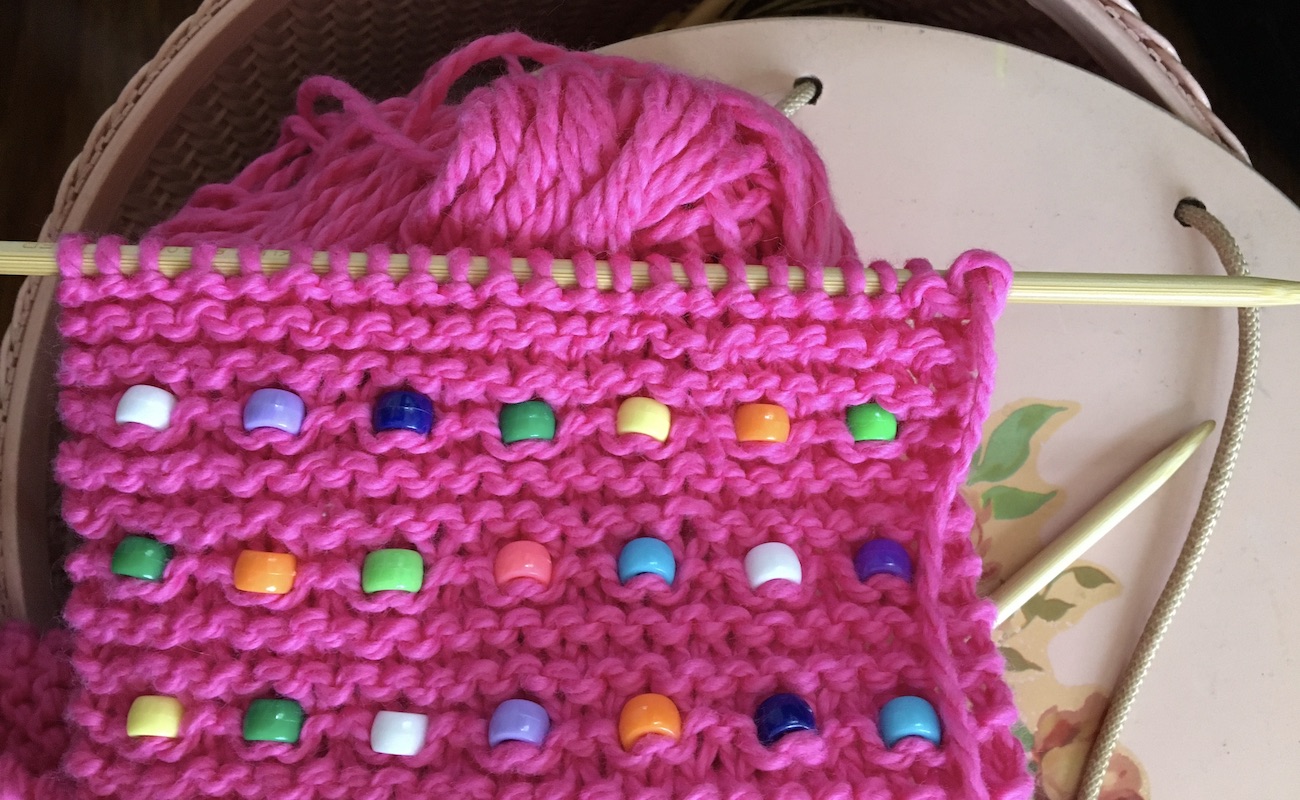
Pink knitted scarf with beads laying on sewing basket

Picking Up, Cleaning Up, Finishing Up. This has been my motto since the shelter-in-place went into effect for Illinois residents last month. I especially like the “finishing up” part – it feels really good to complete projects and send them on their way to be used in our home or to be given as gifts to others. These two scarves, discovered at the bottom of my mom’s old sewing basket, in particular though, tugged at my heart. It seems like yesterday when I was teaching my then young daughter how to knit. She got about 10″ in on the pink scarf before declaring that she didn’t really like knitting. At all.

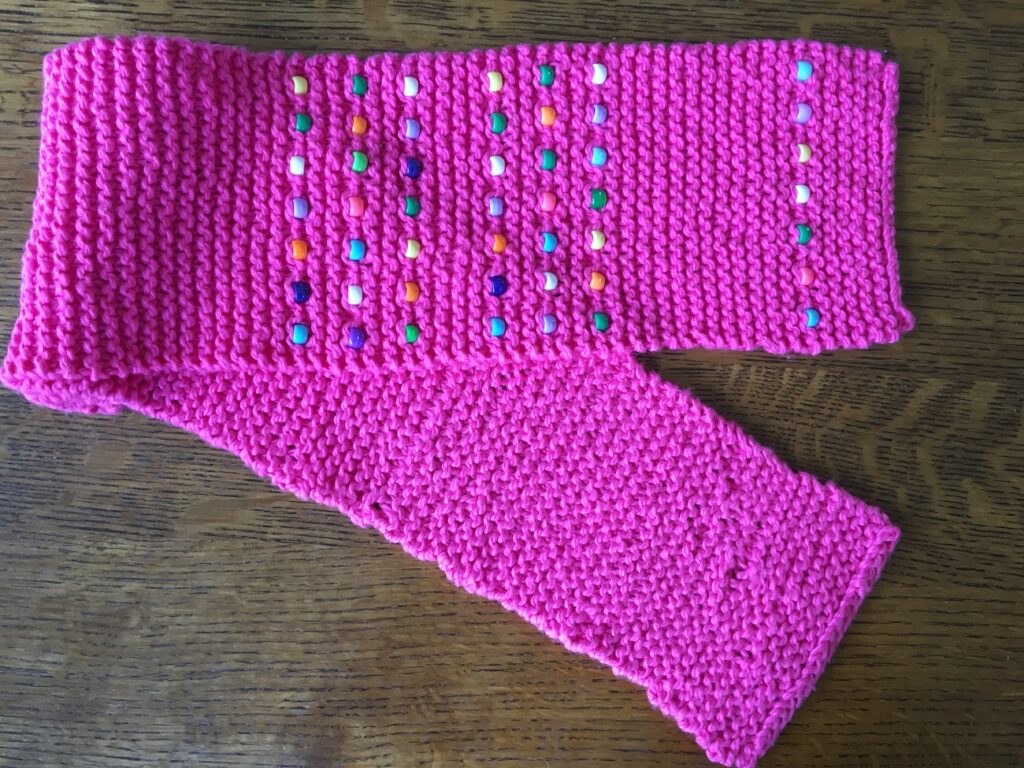
So, flash forward about 10 years and I finished the pink scarf in the last couple of weeks. And, because of the “cleaning up” part of my routine, I decided to add the pony beads discovered in the back of the craft closet to the other end. I emailed a picture of the scarf to my daughter who said I could keep it because pink just isn’t her color. That is the answer I was hoping for… I love this scarf and all its imperfections as she learned a new craft and we both experimented with expressing ourselves creatively.

Knitted pink scarf with brightly-colored plastic beads

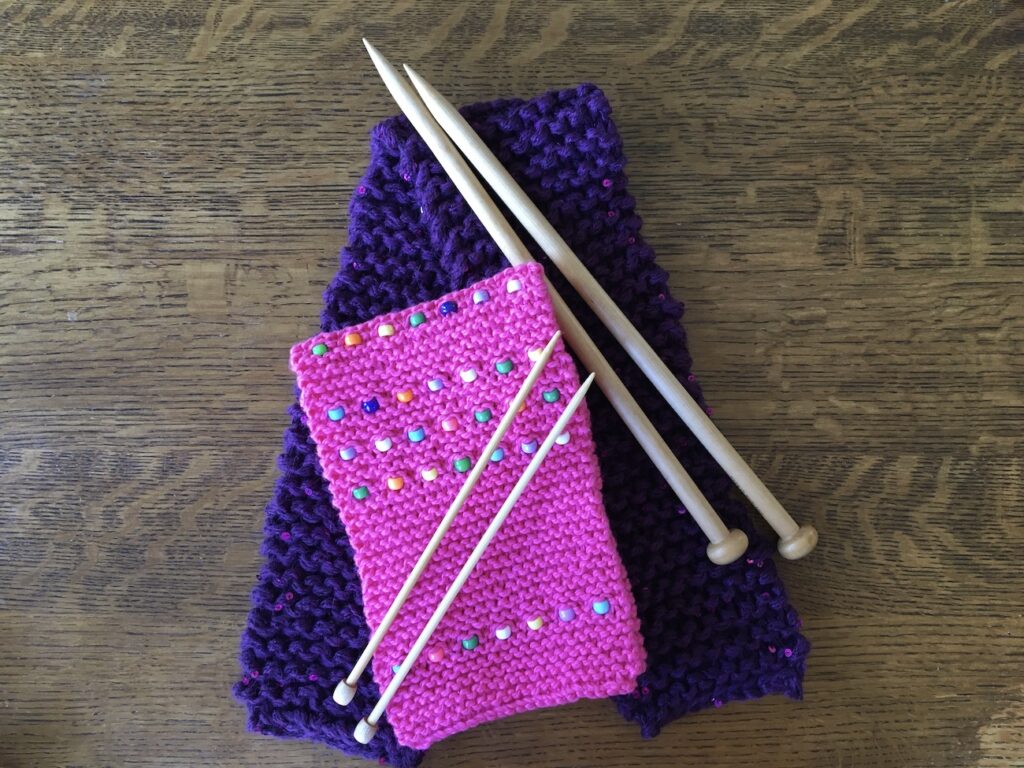
She gave knitting one more try a couple of years later when our neighbor who can knit anything worked with her on the purple scarf. I finished it up and it will soon go off to my daughter because purple is her color : )

Pink knitted scarf and purple knitted scarf and knitting needles

Like many new endeavors – knitting or otherwise – start small and grow from there. As you practice, your skills will improve. I love to knit but still consider myself a beginner. I stick mainly to scarves because the scale makes them doable, portable, and easy to experiment with using different stitches and threads.

If you’re new to knitting, check out the offerings of your local yarn store. There are lots of great stitch tutorials and patterns on sites like PurlSoho, Quince & Co, and Studio Knit. There are also plenty of organizations doing good work that seek knitted donations – often simple projects like baby hats (check with a local hospital) and wildlife rescue nests for baby birds (again, check with local organizations).

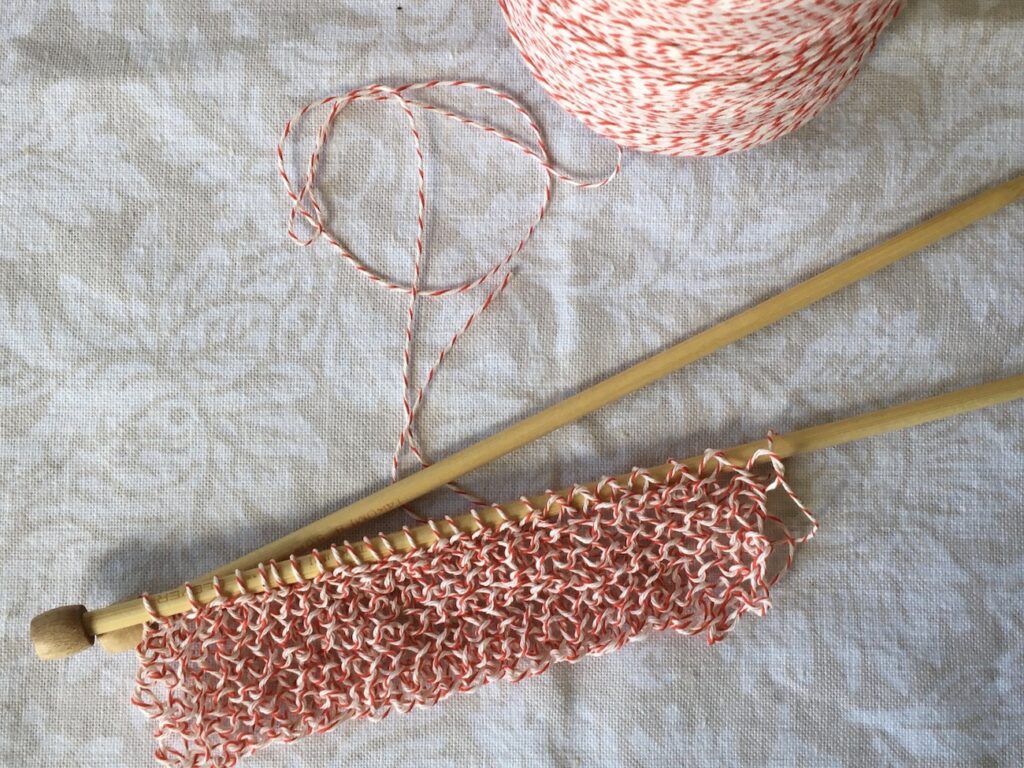
And, remember to have fun, especially if you are teaching a child to knit. If you want to add pony beads to your knitting project, here’s a great tutorial. While I am a big fan of using beautiful, good quality materials for projects, I also enjoy experimenting with what I have on hand, especially non-traditional materials. For example, try knitting using white kitchen string, twine, even red and white bakers string. BTW, I think this would make a great rug or curtain in a doll house.

Swatch knitted with red and white bakers string

Have fun creating ~ stay well!

Spiders and the Webs They Weave

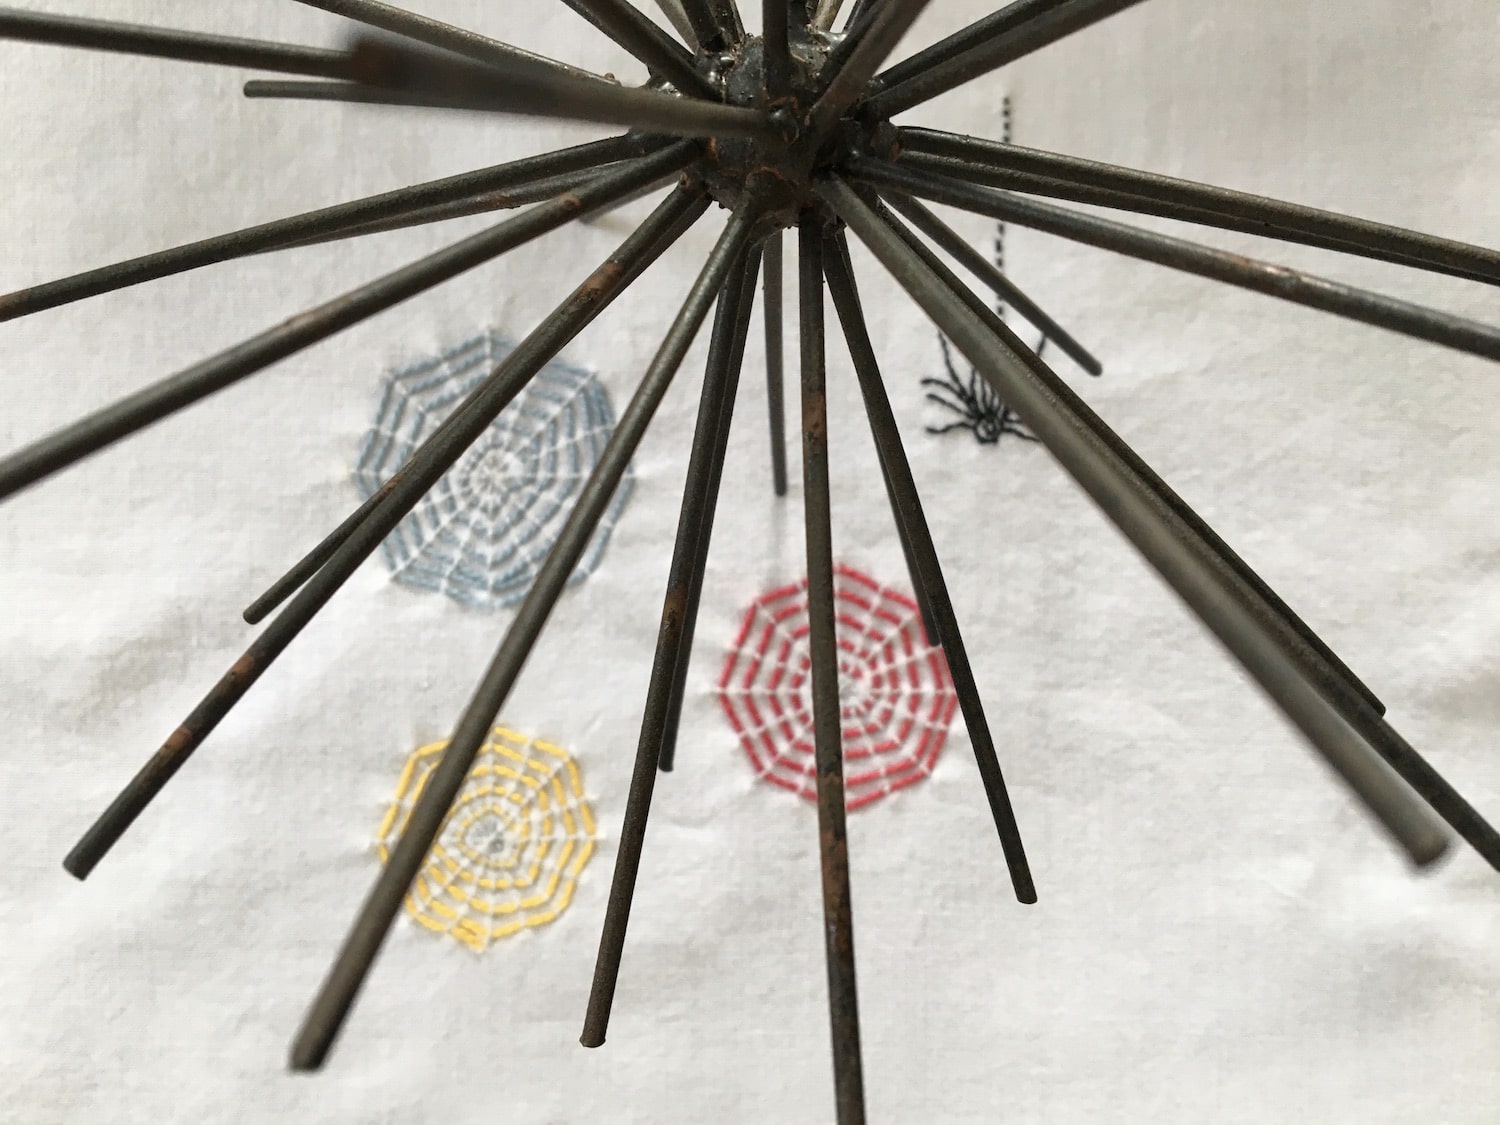
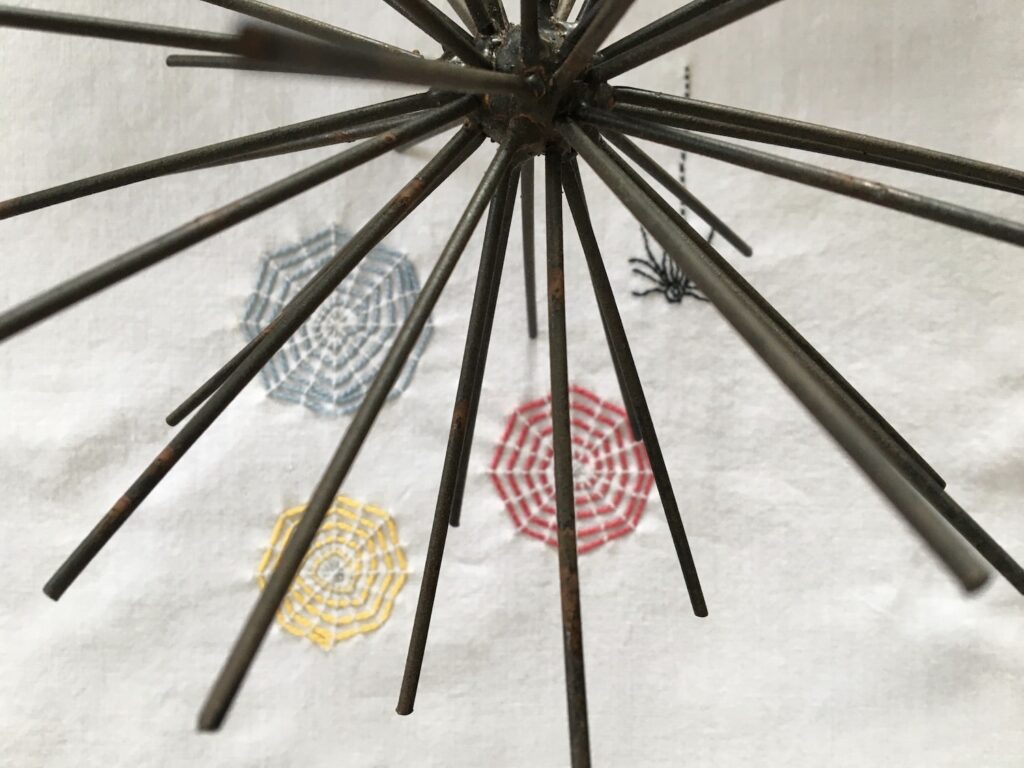
Metal, spiked orb sitting on Colorful Webs Embroidery Project

Spiders and the webs they weave bring up a range of emotions in people ranging from fear (think the movie Arachnophobia) to awe – how does a spider weave something so beautiful!

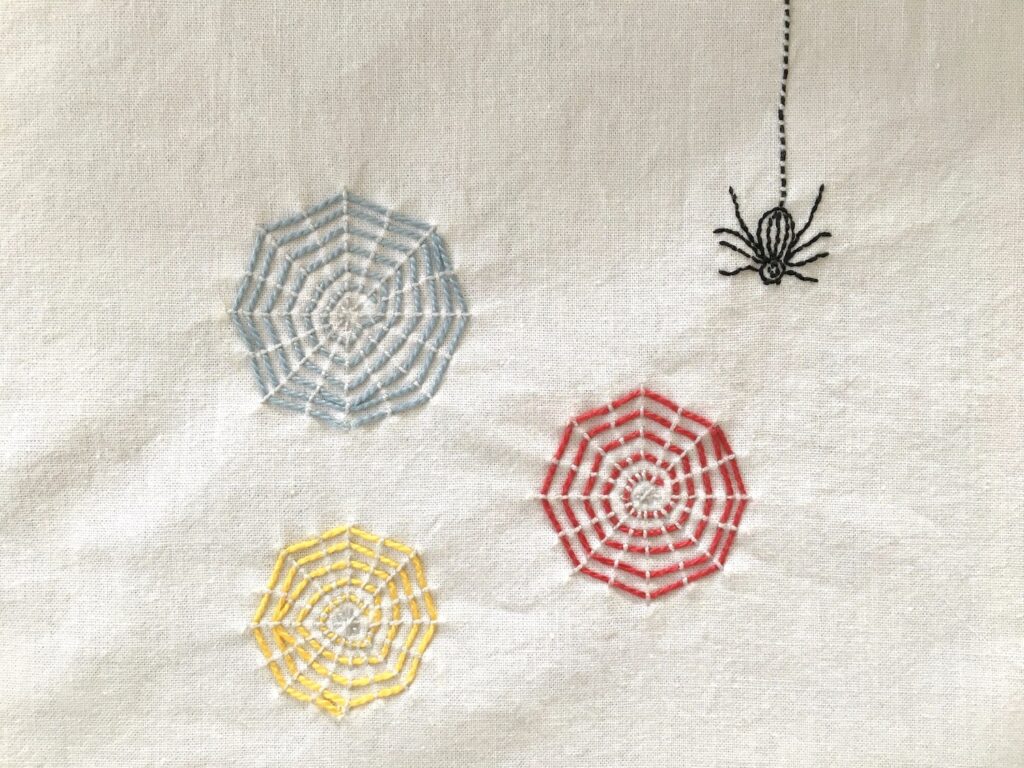
Having been bitten by spiders a couple of times while gardening, I am not always their biggest fan. However, I love their markings and the geometry of the webs they weave. Thinking about how to interpret for an embroidered piece was great fun as I played with swirls, different stitches and colors. The resulting project is Colorful Webs, an embroidery class I will be teaching at Maple Home Market in downtown Downers Grove, IL on February 25th.

Below are several photos from the design process, including a spiked metal orb from Maple Home Market that also informed the basic architecture of the stitched web.

Learn more about the class and register here.

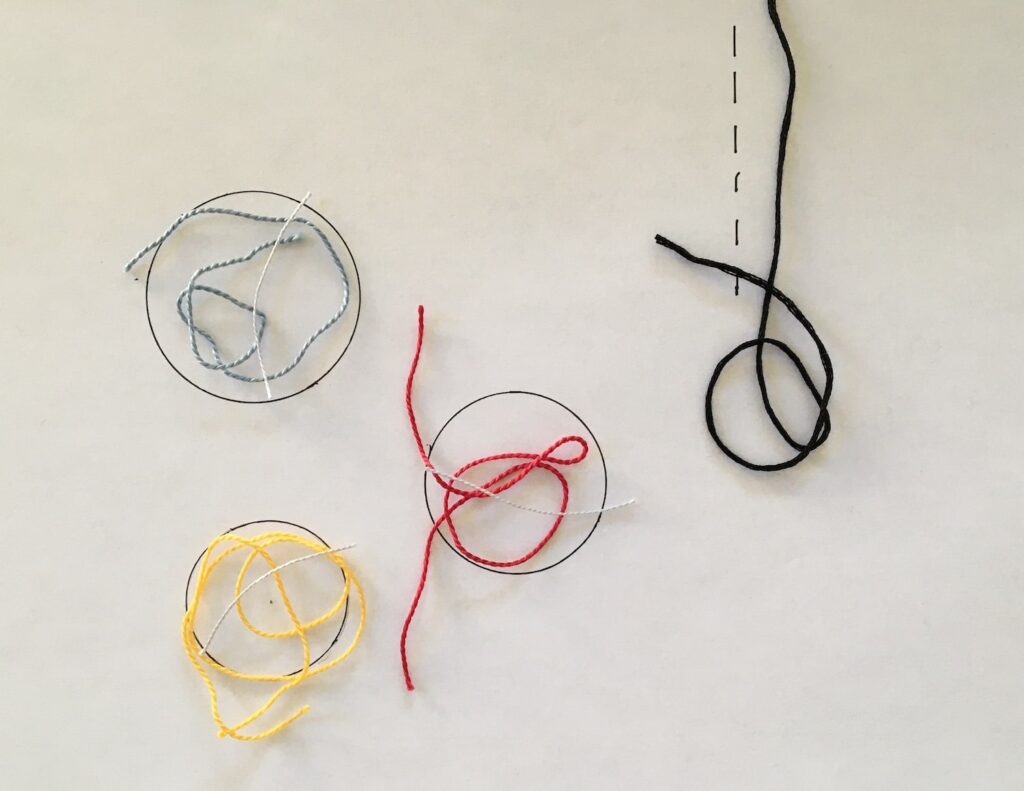
Different colors of pearl cotton laying on white paper in circular pattern
Playing with Color
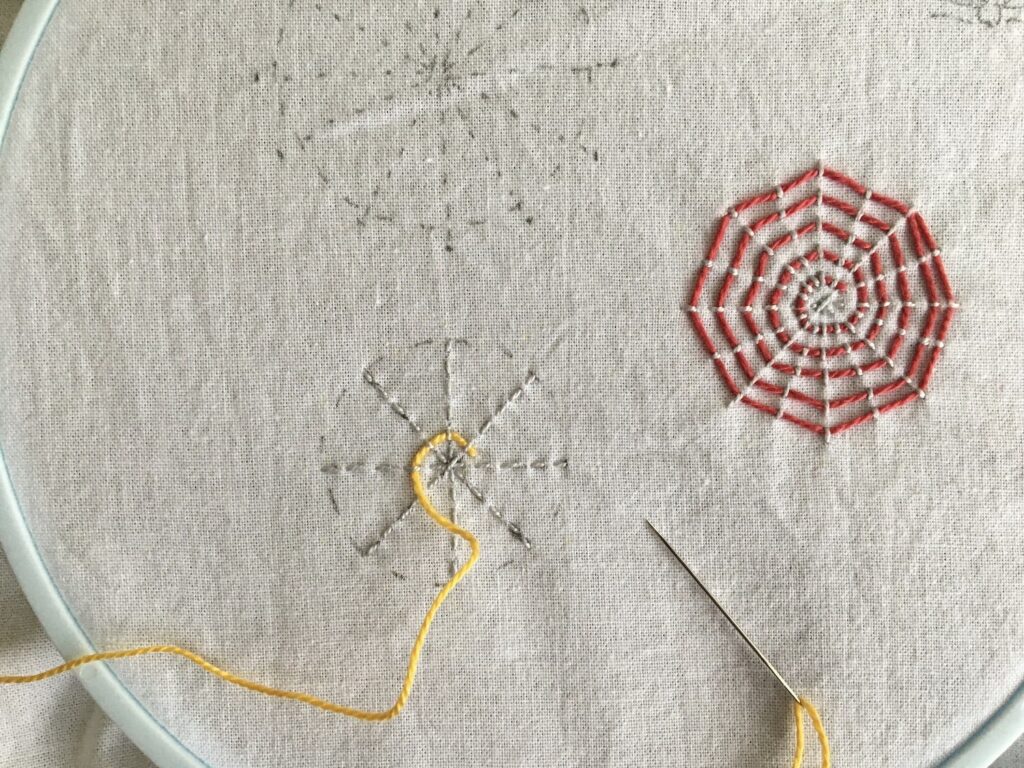
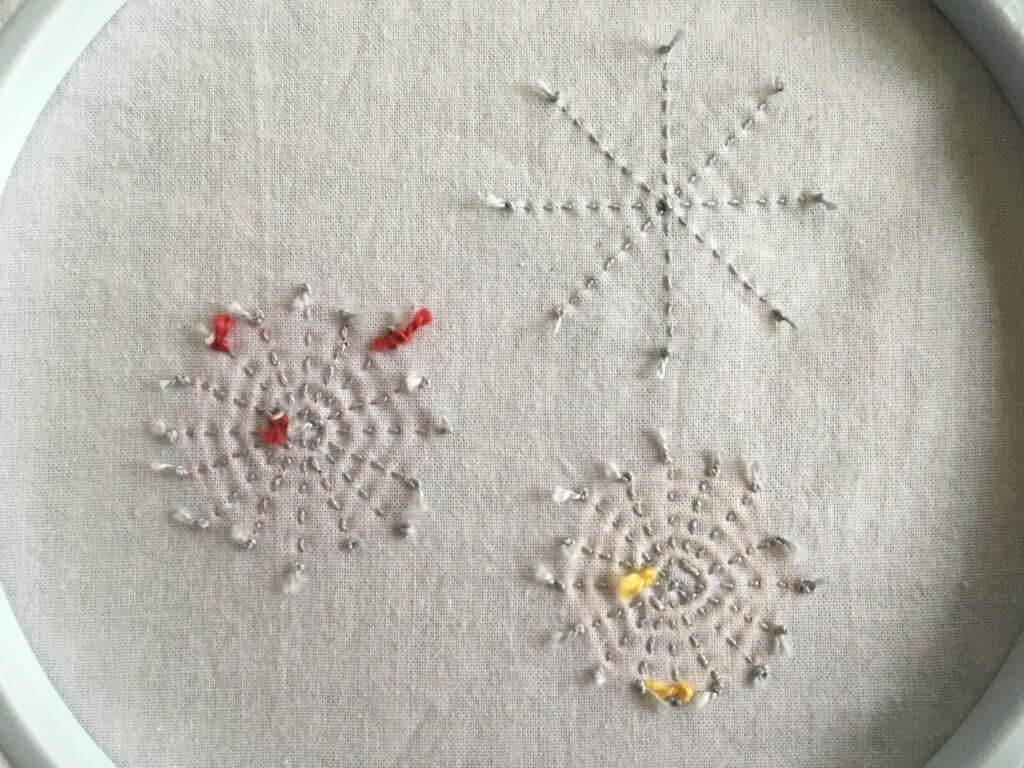
Closeup of Colorful Webs Embroidery Project
Beginning to Stitch
Metal, spiked orb sitting on Colorful Webs Embroidery Project
Further Inspiration for the Webs – a Spiked Metal Orb
Colorful Webs Embroidery Project from the back
The Back of a Project is Often Just as Interesting as the Front
Colorful Webs Embroidery Project featuring three spider webs and one spider
Colorful Webs all Stitched Up!

Engaging with Nature – The Explorer, Artist, Kid in All of Us

I love trees and flowers in full bloom but… I am totally fascinated by what proceeds the color show and what remains at the end of the season. For that reason, “A Tree in the House: Flowers for Your Home, Special Occasions and Everyday” by Annabelle Hickson caught my eye. The stunning arrangements she creates from what she finds each season is wonderful – especially when she creates a cotton cloud over the table and other installations! The photography is beautiful and nothing is over the top – just pared down, simple settings where nature takes center stage.

Reading this book and watching spring unfold (with a couple of hiccups along the way like the freak heavy snowstorm the other night), I am waking up to the abundance of beauty around us – including the debris that I am carting off to the compost pile and the shoots that are poking up through the soil. Some of those twigs and seed heads will make it into the house to sit on the mantle for a week or two, others might even make it into a craft project or inspire a needlework piece.

So take a break from whatever is consuming your day and grab your kids, a friend, colleague, or significant other and go outside to play like a kid, explore like a scientist, create like an artist: Bring along a paper bag to collect some interesting branches and whatever else you might find, as well as a magnifying glass to examine the intricate designs that are not immediately apparent or the bugs that you are leaving behind but look oh so interesting. Then, bring it all home and set about creating your own artful arrangements! Have someone who can’t make the trek outside with you, like a friend who’s been sick or a small child? Share what you find with them – and don’t forget the magnifying glass : )

“One of the greatest joys of playing and experimenting with flowers is that it opens your eyes to the beautiful things growing around you. The ones that are already there, doing their thing, that you didn’t have to buy or water or prune. You start to notice them. Like words whose meaning you’ve just learnt (nadir and akimbo), you start, as if by magic, to see them everywhere.” – Annabelle Hickson

Doodle, Reflect, and Plan

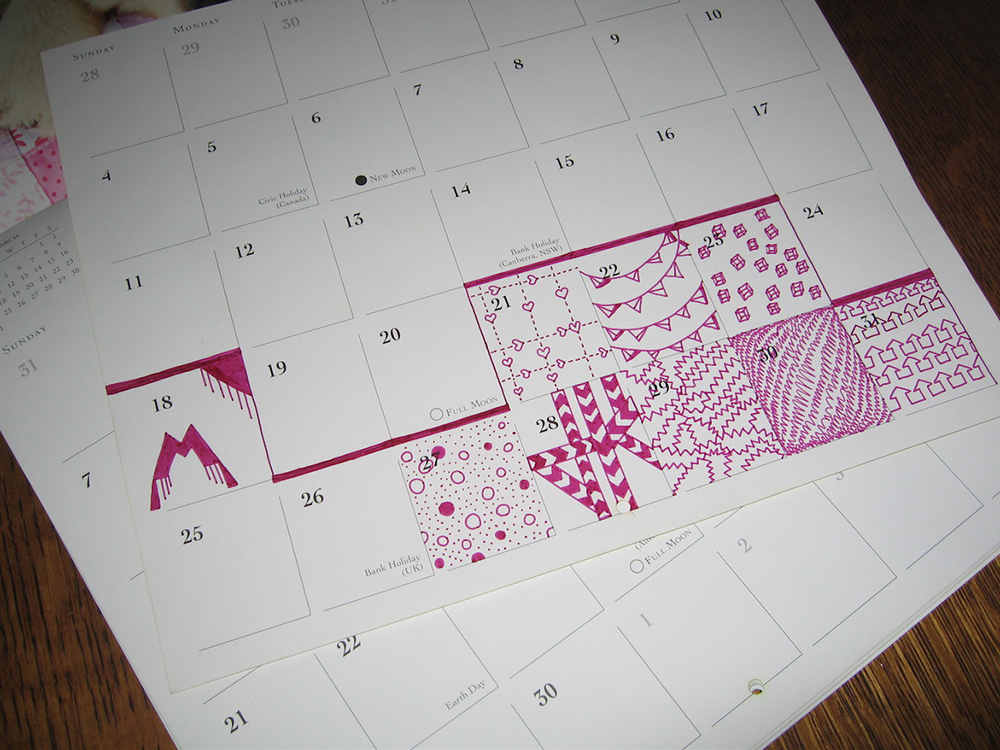
If you typically throw your calendar into the recycle bin at the end of the year, you may want to reconsider …

The other day, I walked past my daughter’s room where she was quietly embellishing last year’s wall calendar using a magenta Sharpie and a ruler; she has continued to work on it over holiday break, taking her time and carefully considering how she wants to fill in each square.

While it is a wonderfully simple creative exercise – treating each square as its own canvas, each page as its own gallery is a nice scale to work on (I say having just completed a full-size bed quilt) – it is also so meditative.

So go ahead, retrieve last year’s calendar and pick out your favorite Sharpie color, then find a quiet place to think about the year just past and set intentions for the year ahead. And for my readers who quilt or embroider, you might just discover a new pattern in those doodles!