Celebrate Fall with Felt Leaves

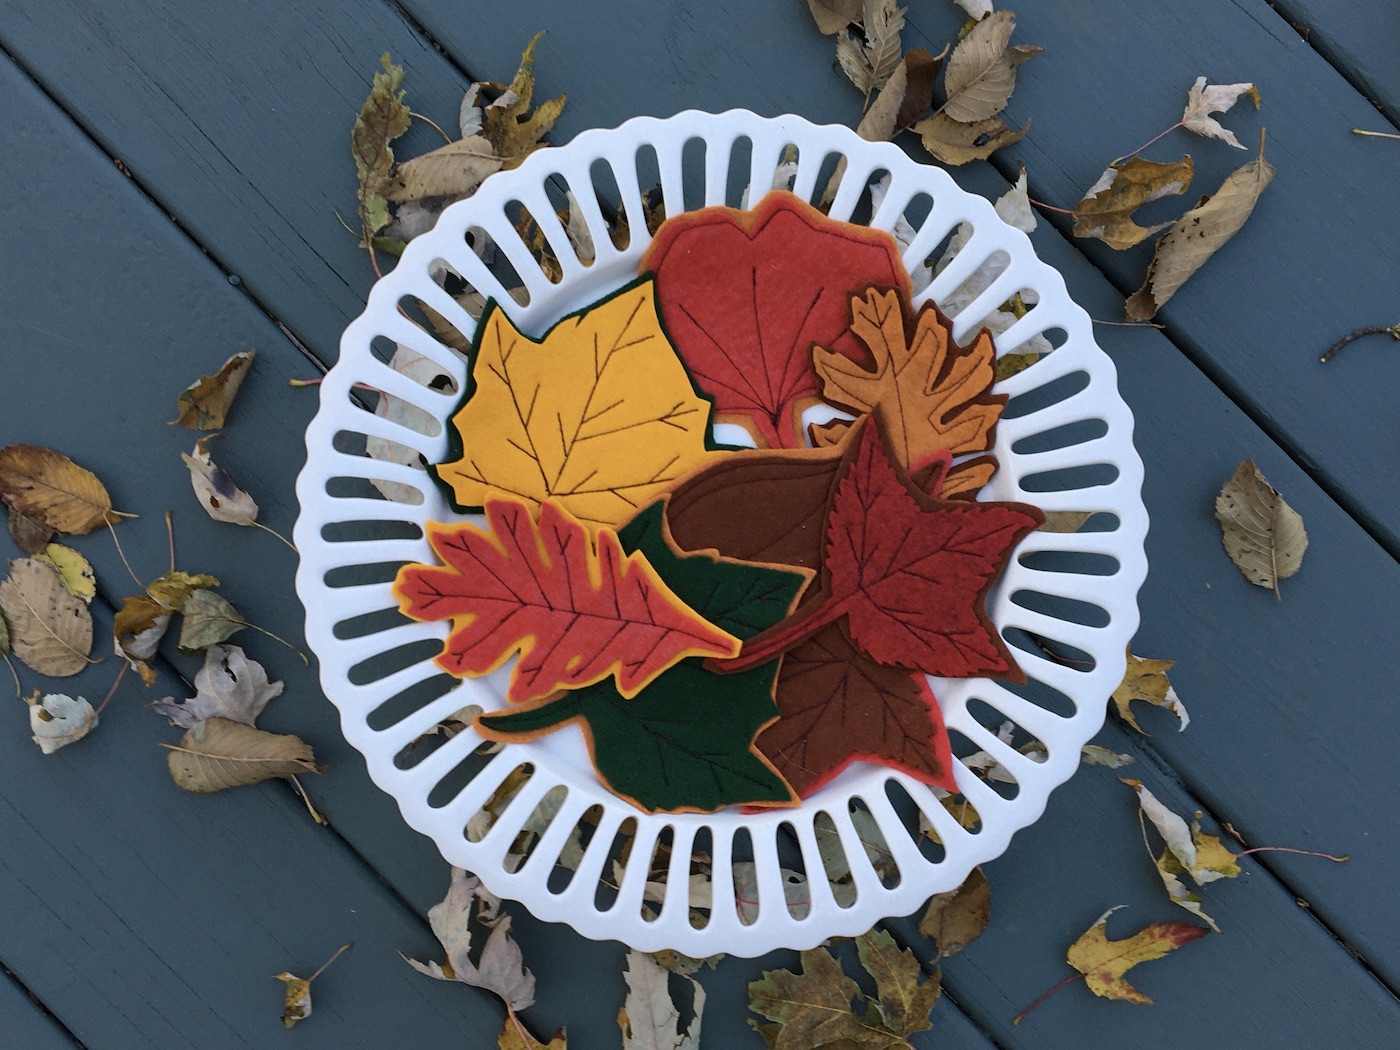
Felt leaves on white cake stand

Fall is my favorite season – the crisp temperatures, beautiful colors, warming foods like hearty stews and ginger cookies. And, a reminder to spend as much time outside as possible before winter arrives with its plunging temperatures!

To extend the fall season in your home and capture the beauty of the season, whip up some felt leaves that make use of leftover scraps from past projects. They look great placed under a table centerpiece – think ceramic pumpkins, a glass candle holder, or a vase of branches gathered on a walk. Other ideas:

  • Add a magnet to the back of the stitched leaves and stick on your refrigerator – then rearrange often!
  • Stitch the leaves to a ribbon using a small tacking stitch and string up on the fireplace mantle or a bookshelf.
  • Cut a rectangle from burlap or heavy canvas, arrange the leaves in a random pattern, and stitch in place using a tacking stitch in several places on each leaf. Then, hang on the front door or someplace in the house where you can enjoy.

Here’s the how to:

Step 1: Collect felt scraps in fall colors – oranges, reds, browns, yellows greens. Then, get ready to play with the color, shape, thread color and stitching.

Step 2: Sketch out an assortment of leaf patterns based on trees that are real or imagined. Or, download leaf coloring pages from the Internet and use these as your patterns.

Step 3: For each leaf, cut out two sizes. The larger one should be about 1/4″ bigger all around than the smaller one. Enjoy the process of playing with the colors – make some leaves that high contrast, others with less – to see what you like best. Creating a mix of leaf combinations will help keep it interesting (IMO).

Step 4: Place the smaller leaf on top of the larger one in each leaf pair and pin in place to hold while you are stitching.
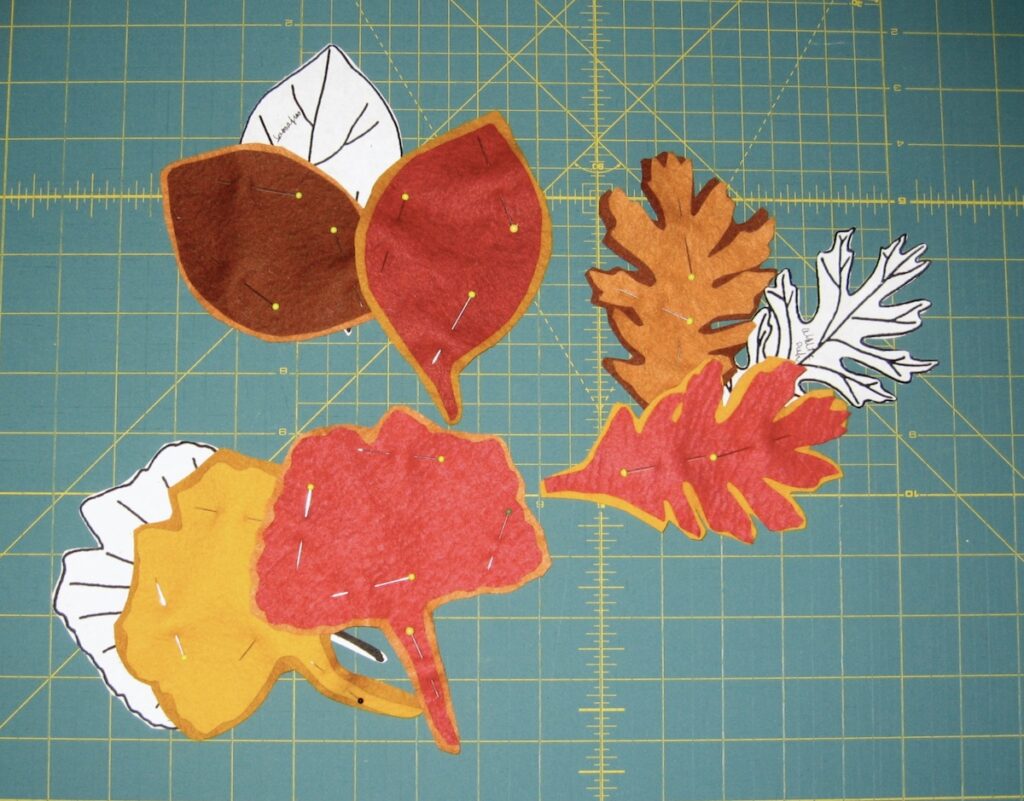
Step 5: Stitch the two leaves together to emphasize the overall shape and vein pattern. You have many options here for stitching: hand stitching using different embroidery stitches or a simple running stitch; machine stitching that takes advantage of your machine’s capabilities or a simple straight stitch (as I did here). If you are hand stitching the leaves together, you can use embroidery floss, perle cotton, or heavy sewing thread. NOTE: You can use a pencil to lightly mark your stitching pattern on the felt so that you can cover it with your stitches. Alternatively, use the edge and curve of the leaf to inform the placement of your stitches.

Step 6: Have fun, use and enjoy!

Sharing the making experience with others:

Here are some ideas for adapting the project if you are short on time or materials, have a little one who wants to participate in the leaf-making fun…

  • Glue the leaves together, then “make stitches” with a Sharpie.
  • Use a big needle and big stitches to hand sew the leaves together.
  • Divide the steps up to match each person’s age, skill level and/or interest.
  • Use heavy card stock or construction paper instead of felt. Then, using markers, draw the stitching pattern on the leaves.

Mini Twig Sculptures

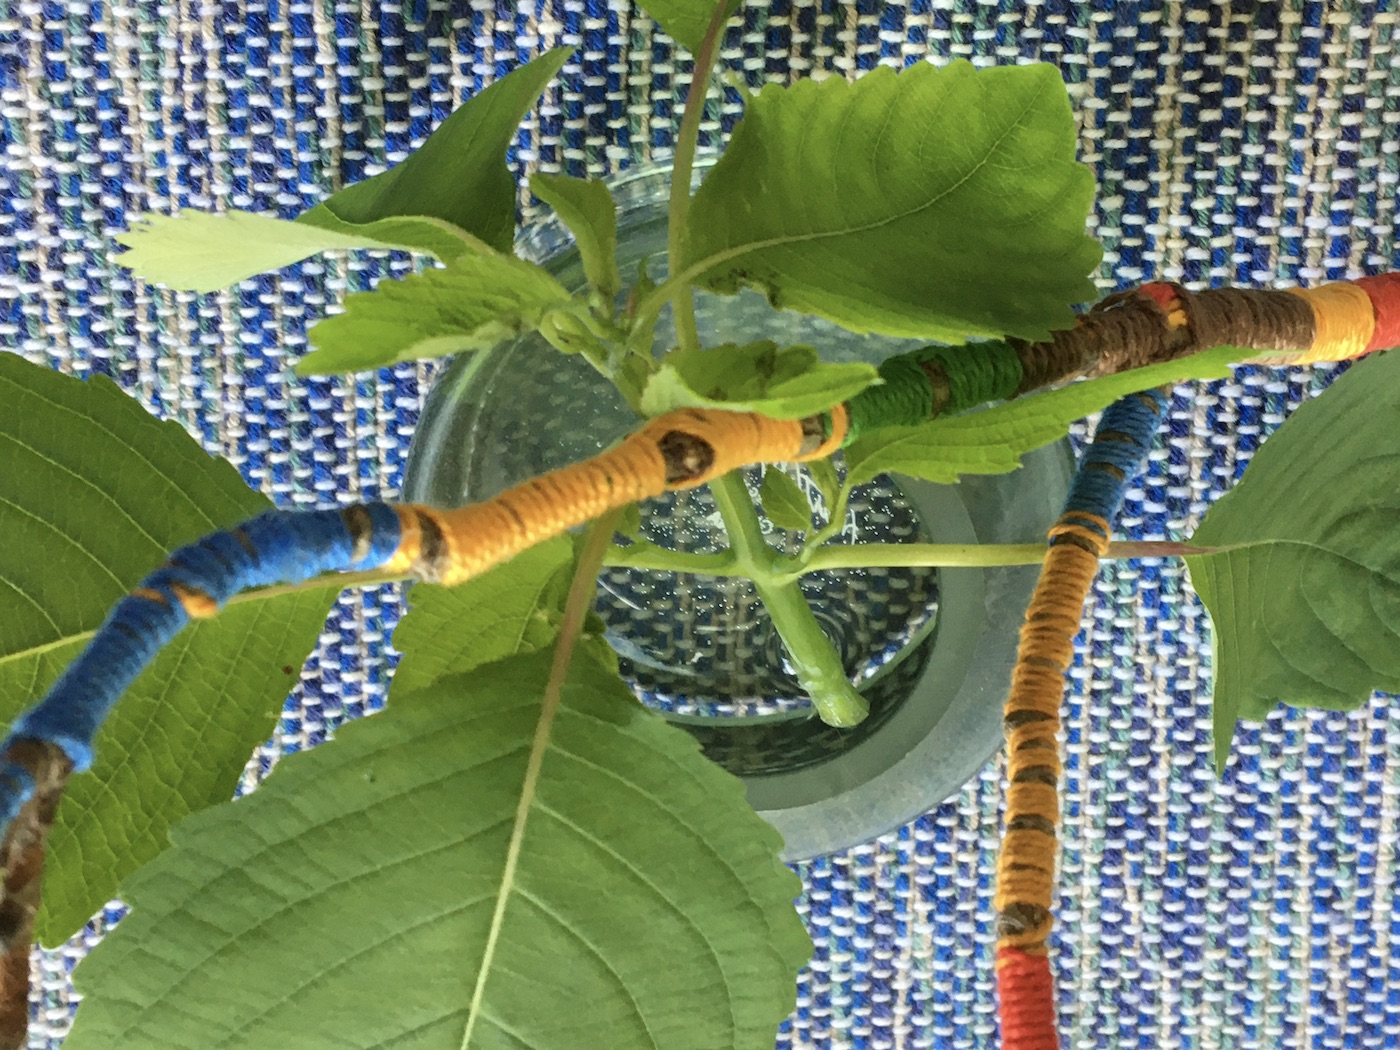
Twig wrapped in perle cotton beneath woven through leaves

Some years back, my family and I took in Steve Tobin’s Steelroots exhibit at The Morton Arboretum. Inspired by what we saw, my daughter and I came home and made our own mini sculptures from twigs we collected in our yard and perle cotton. Recently, I came across one of the twigs stuck in a vase that had somehow made its way to the back of a cabinet.

To make the sculptures, we looked for twigs with an interesting form – if there were scars or other interesting marks, we left those sections unwrapped. We played with different lengths of perle cotton – sometimes using just pinks or greens, other times using multiple colors.

When finished, we laid them on a table in the hallway where they were constantly rearranged every time someone walked by. Other found made their way into the “exhibit” – rocks, an acorn, a paper snake, origami birds… This time around, I pulled an interesting (but pesky) weed from the yard and put it in a vase on the kitchen table. And, then of course, the play began: weaving the wrapped twig into the leaves different ways, laying it beneath the leaves, propping it up alongside the vase…

For a fun creative break today, take a walk and gather some interesting twigs of your own, then wrap them in perle cotton, yarn, twine, kitchen string, cording or whatever fiber you have on hand. Arrange the mini sculptures on a table or your desk – and then rearrange again and again!

Exercising Your Creativity Muscle

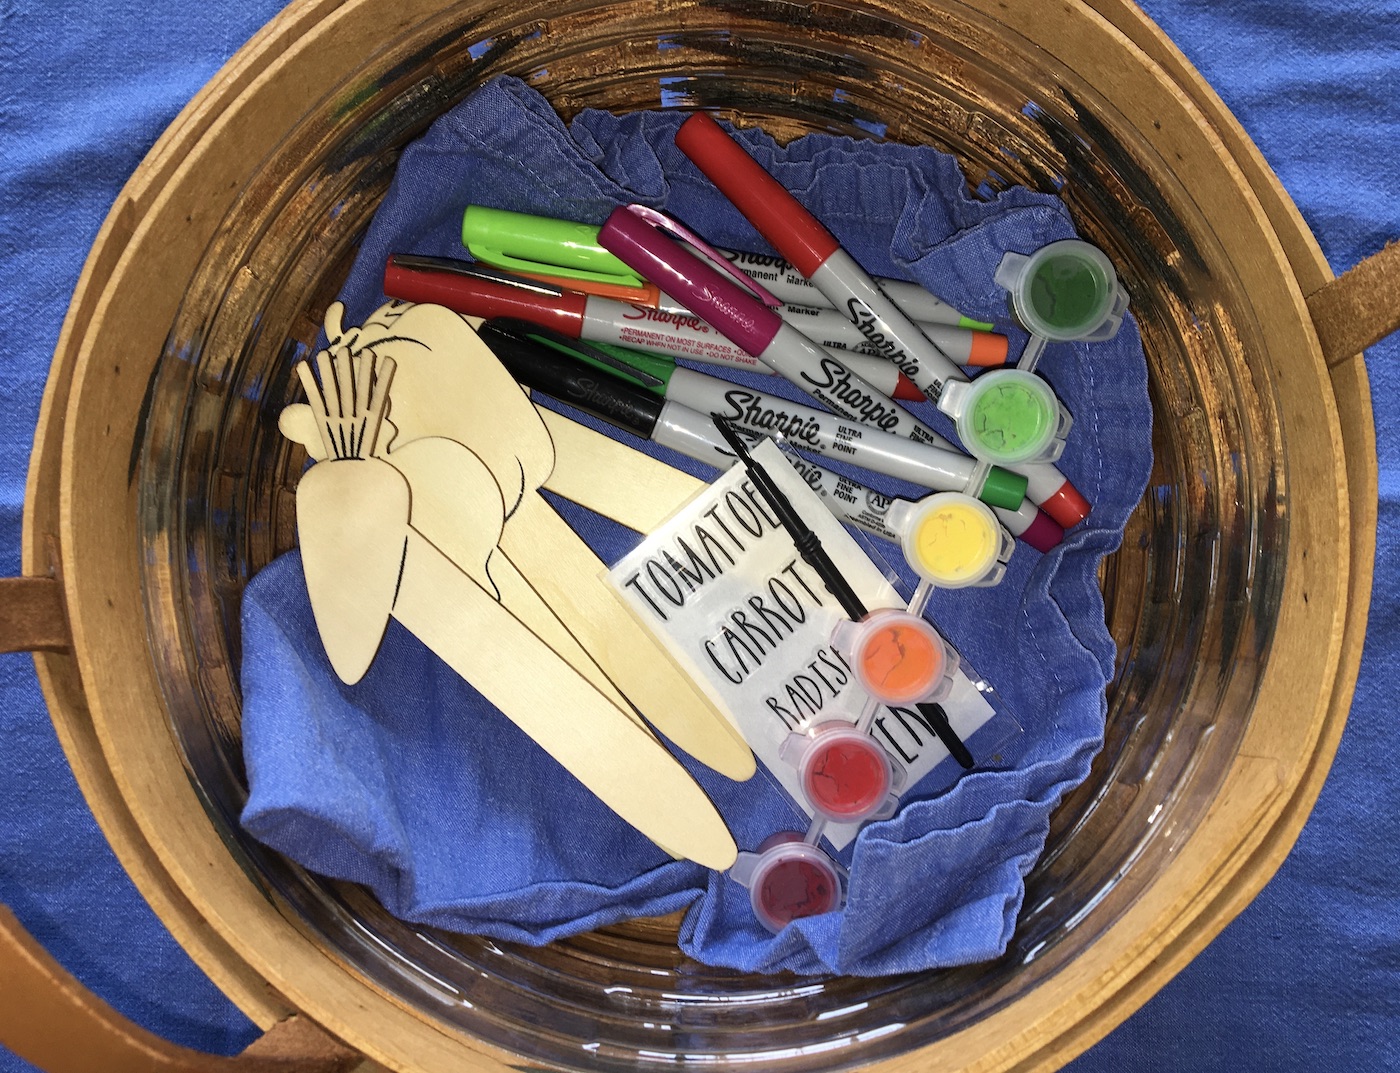
Basket with Vegetable Garden Plant Markers to Decorate

Creativity has been likened to a muscle: We all have it – we just have to work to strengthen it so that we can reap the rewards.

Over the last few months, with sheltering in place and social distancing the new normal, implementing a daily creative practice is as important as ever. Our world feels a bit smaller, our days a tad mixed up (“Is this Sunday or Monday?”), and our work-life boundaries totally blurred (think kids playing at your feet while you’re trying to get work done, office texts and emails still flowing in at 8 or 9pm, or extra long shifts at the hospital). Expressing ourselves through writing, drawing, painting, sewing, quilting… can help provide a much-needed, nourishing break from the challenges we are facing in our lives right now.

And, if setting aside time to make and create sounds a bit indulgent these days, it’s not. The spillover effect I mention here – Step #6 on the Art Everyday page – is well documented. For example, this Fast Company article from a few years back talks about that spark we feel or breakthrough we have after engaging in a creative practice.

Decide on the best time to fit a creative break into your day, experimenting to see when you get the most benefit: Do you want to use the practice as a warm-up exercise for the day, a mid-day boost, or a transition from your workday to home life. It does not have to be a big chunk of time – committing to 15 minutes a day can make a big difference.

I’ve always got several projects going on in my studio at any given time. However, I keep a basket for just one simple, self-contained project. It sits in my office, ready to go when I need a creative break (usually at the end of the day). The projects rotate: Right now, I’ve stashed a vegetable marker kit from Target. The original kit had paints, which now look dried up, but we’ll see when I get to work. I might instead fill the space up with different patterns using Sharpies instead. It might take me all week to finish the project but the point is that it’s easy to start and stop and all my supplies are in one place, making it hard not to begin. Once this project is finished, I’ll find something else to put in the basket.

My recommendation is that as you develop a creative habit, keep it simple and start with what you enjoy – at least at the beginning. First find a container, something that works for the space you are working in and is portable – a basket or tote bag works best. Then, if you like to write, add a journal or notebook and your favorite pen or pencil to the basket. If you want to spend time each day working with watercolors, stash a small water color set, brush, and a 6″ x 6″ pad of watercolor paper in the basket…

If you have kids, consider making a basket up for each of them that is age appropriate and, ideally, something they can do by themselves at a time when they most need it. For example, a potholder kit, paper and instructions for making paper airplanes (include different kinds of paper to see what flies best!), or a coloring book and crayons.

I’ve long said that when I have a problem to be solved, the best way to figure it out, is to spend time in my studio making. Getting lost in the flow of making frees up headspace to think more creatively, beyond the box – first, in what I am actually doing in the studio and then for the problem/issue I’m trying to resolve.

In the coming weeks, months, and years, creativity will be key to generating new ideas for rebuilding our lives, our communities, our healthcare systems and, well, pretty much everything. And, throughout this process of creating new, focusing on lessons learned from the past, listening to experts, and cultivating out-of-the box thinking so that the end result benefits everyone and addresses what hasn’t worked in the past. Like many things, we can start at home – thinking more creatively about how we solve problems there and at work, then build from there.

So start flexing your creative muscle by building a daily creative practice, stick to it, and enjoy the process and spillover effect! Read more about building a creative habit here. Connect with us on Facebook to see some additional ideas in the coming days of what to put in your basket.

Make in a Day Pillowcase

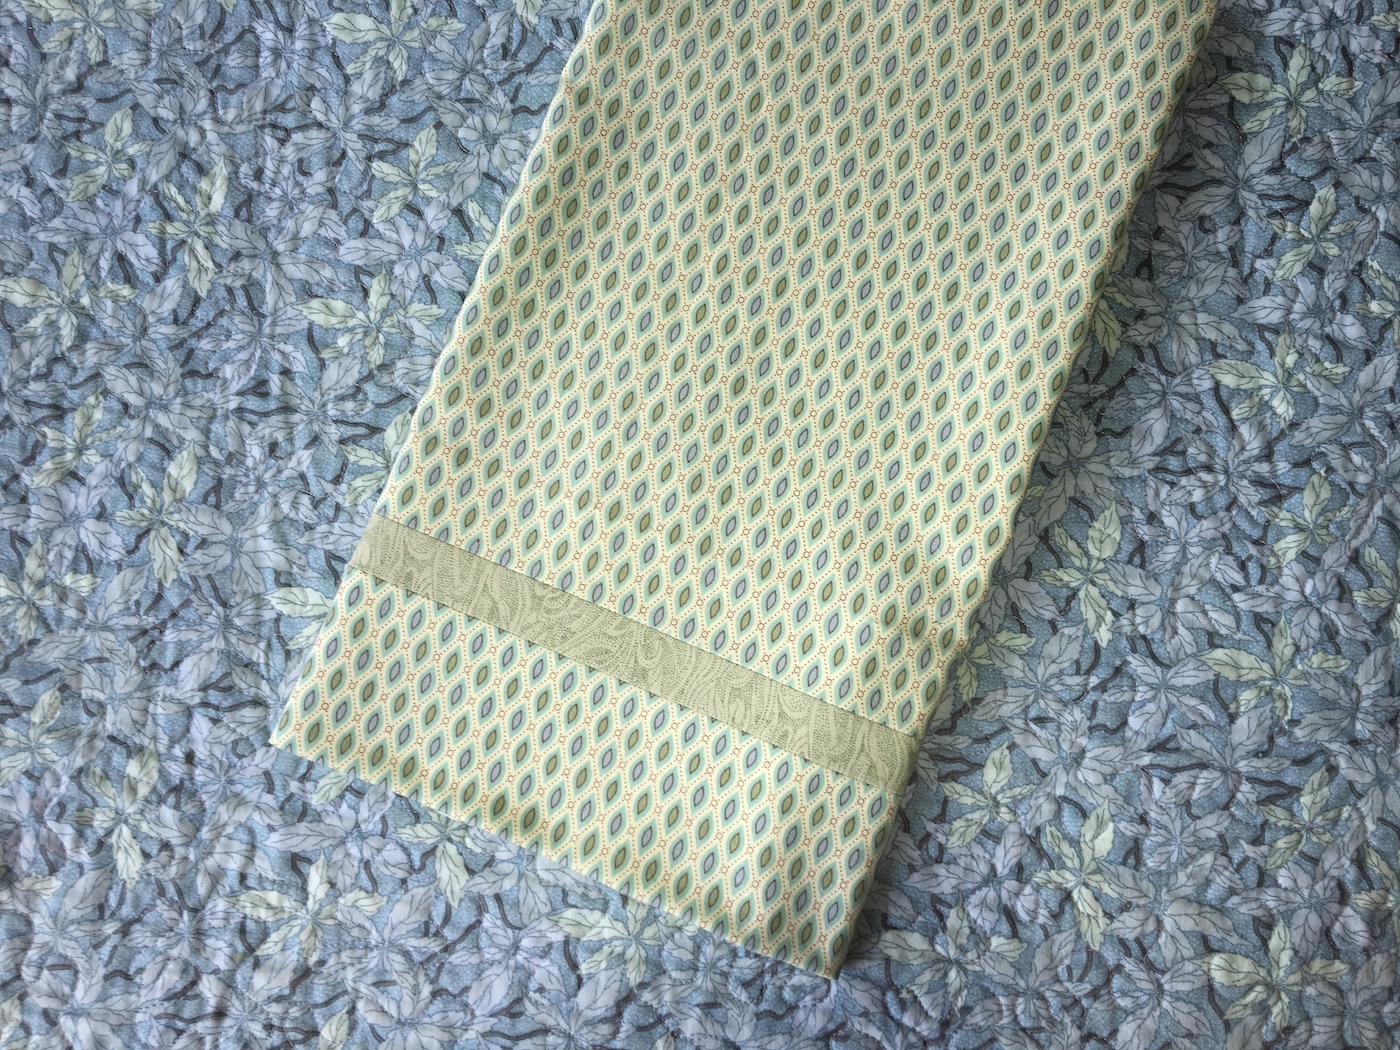
Yvonne Malone Studio Make in a Day Pillowcase folded on top of quilt

Some days you need a quick project – one that can be made in a day or, better yet, a couple of hours. After spending half a day working on several frustrating technology issues (are there any other kind?), I decided to take a break and finish up this project and pattern…

Besides the almost instant gratification that making pillowcases provides, I also love that this is a great project no matter your skill level. New to sewing? Make up the pillowcase following the step-by-step directions here. Experienced sewist? Set aside your machine and make the entire project by hand. Or, use a solid color for the fabric next to the opening, and add an embroidered message like “Pleasant Dreams”.

So decide who you are making the pillowcase(s) for – you, a niece or nephew moving into their first big kid bed, a wedding shower gift… Then, open up the pattern here and happy sewing!

Be safe. Be well.

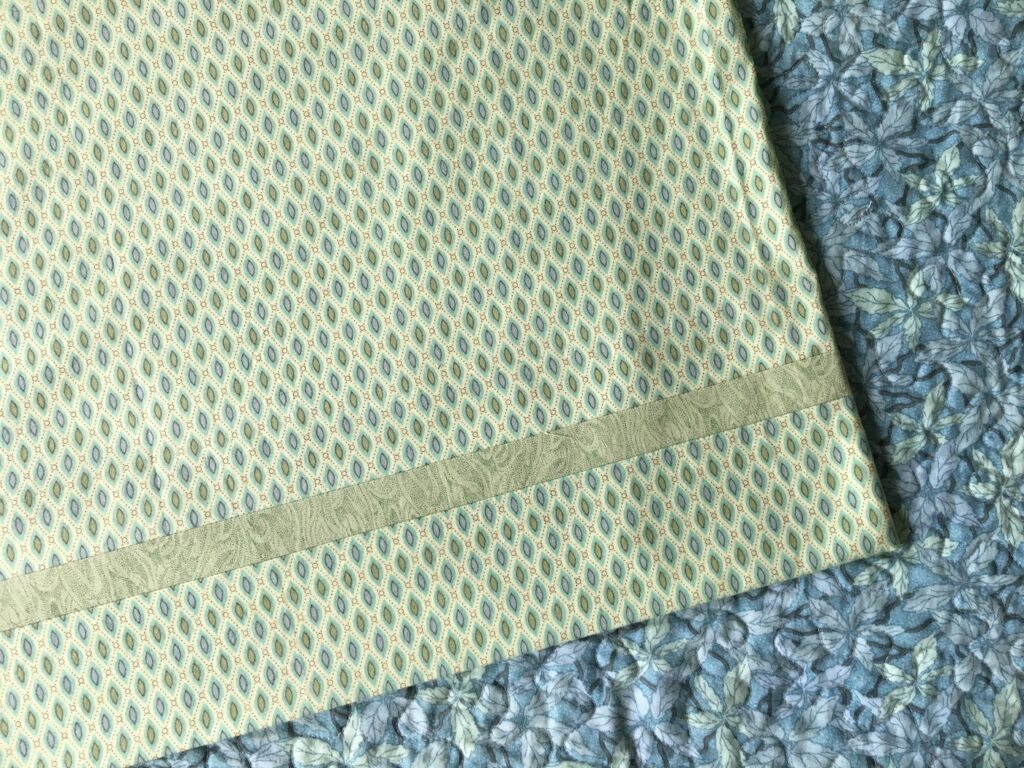
Cropped photo of Yvonne Malone Studio's Make in a Day Pillowcase