Go-To Hot Pad

Hand Quilted Hot Pad Made Denim

The hand-quilted Go-To Hot Pad plays a supporting role in the kitchen but a big role in your daily routine – holding a hot bowl of oatmeal in the am or a steaming one-bowl meal in the pm. It goes hand-in-hand with your favorite bowl and favorite mug… A bit of art and a reminder to hit the “off” switch while you enjoy a meal.

Here’s the backstory on this project…

In college I bought a wok – the kind with a ring that sits on the burner and the wok sits down in in. Tucked in the box was a great recipe book that we still use and a blue and white hot pad with a cow in front of a fence printed on it along with the words “La Vache,” French for cow. The wok is now blackened from years of use and the hot pad is tattered, stained, and will likely not withstand another spin in the washer. The hot pad is still everyone’s go-to for holding a hot bowl of anything. Thus, this project was born – we need a replacement! Read on for the directions on making your own hot pad by hand or machine…

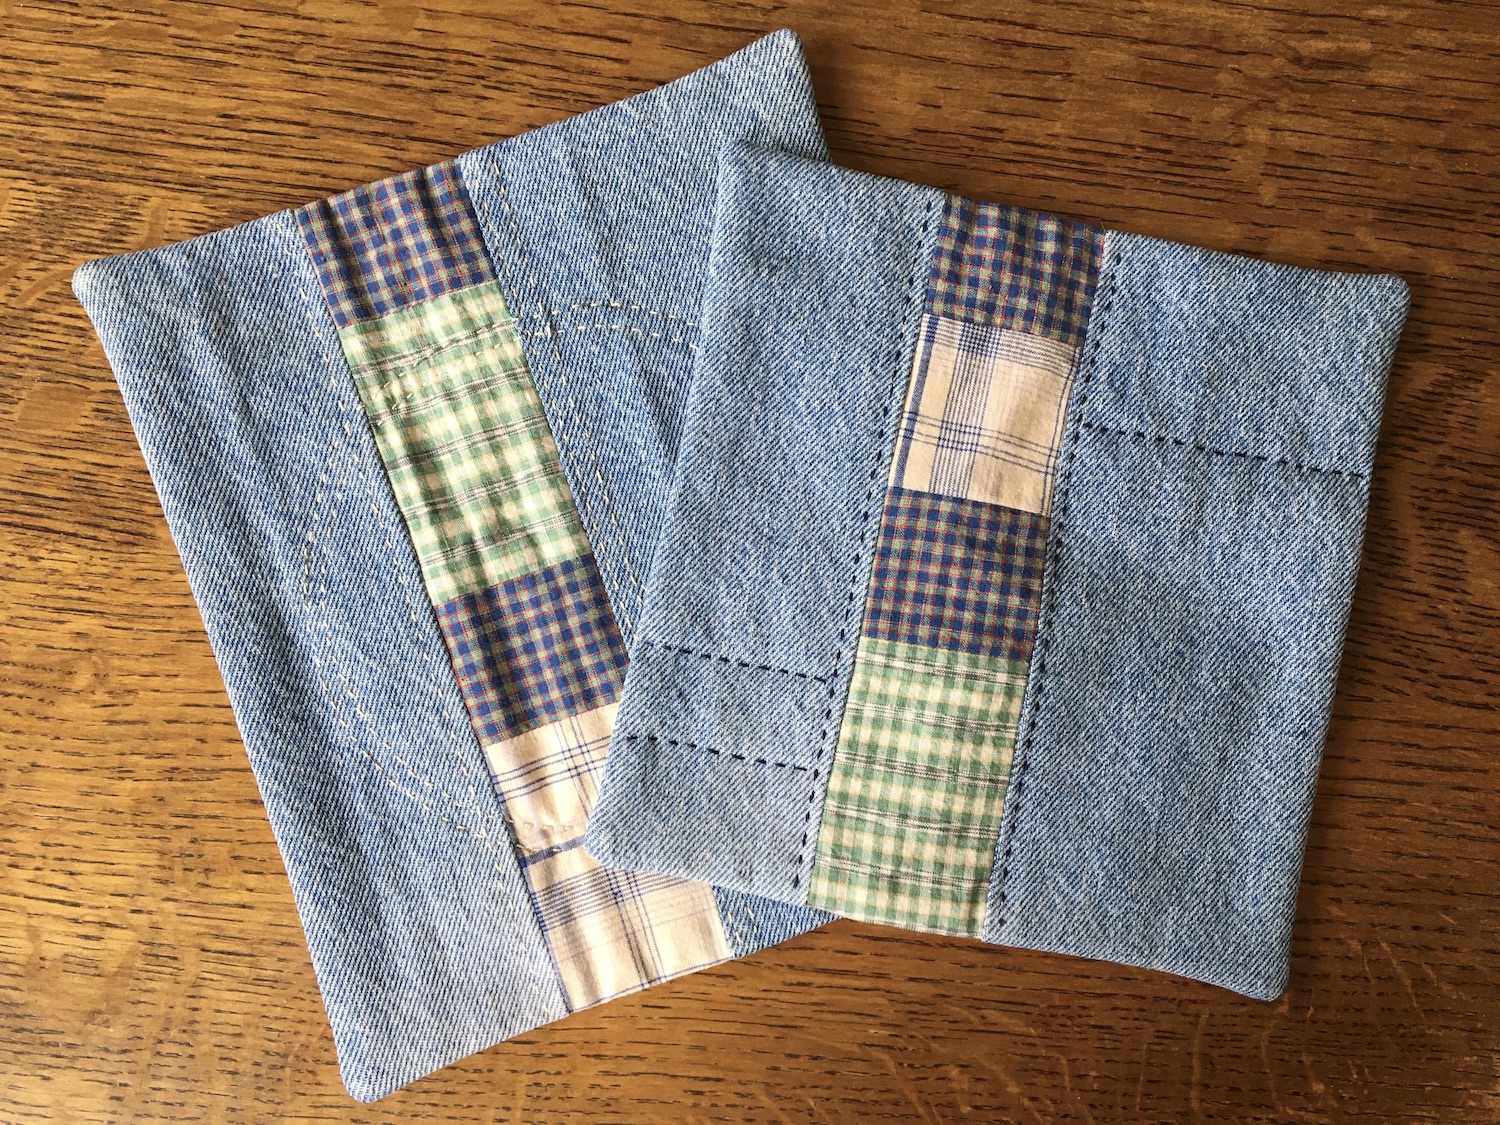
Two Hot Pads Made from Denim Jeans and Scraps of Plaid Fabric

A few notes about the project:

  • The beauty of this project is that you can probably find fabrics in your existing stash or clothing in the giveaway pile. If you need to buy new, check with your local fabric store.
  • You are making a hot pad to hold a bowl you are eating from or to scoot under a hot dish or mug of coffee. You are not making a potholder to grab a hot dish from the oven.
  • A quilt is comprised of three layers – often referred to as the “quilt sandwich”: the top layer (aka the quilt front), the middle layer (composed of quilt batting or flannel to give your quilt a bit of loft), and the backing (often just as interesting as the front because of the pattern your hand-quilting stitches make).
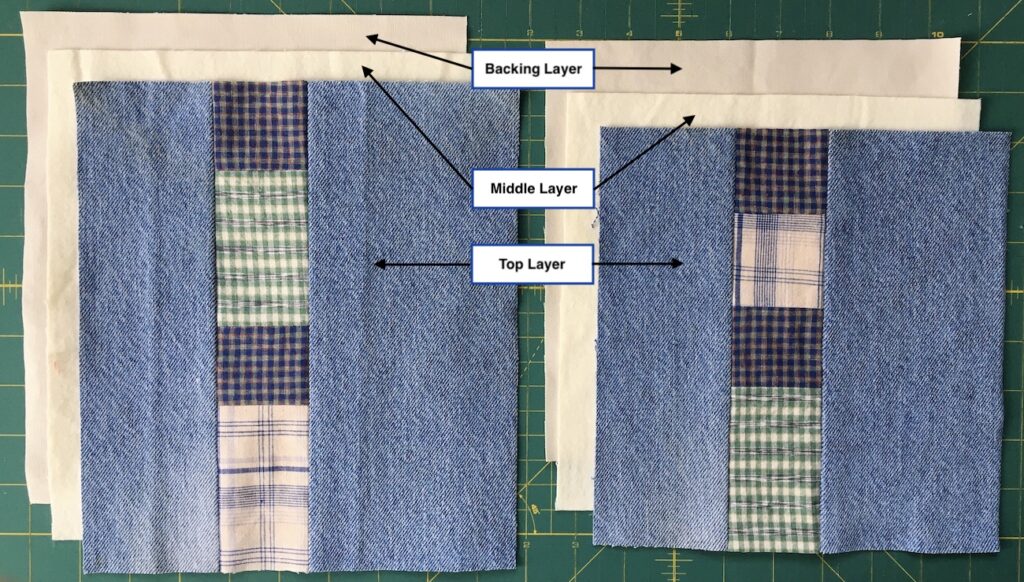
The 3 layers of a quilt

Step 1: Gather your supplies:

  • Sewing thread and needle if hand sewing; machine and thread if using
  • Pearl cotton and needle with eye large enough to accommodate the pearl cotton for hand quilting. I used dark blue on the one hot pad (DMC #823, No. 8) and off white on the other (DMC Ecru, No. 12). A side note about pearl cotton: The higher the number, the finer the thread.
  • Scissors
  • Iron and ironing board
  • Chop stick
  • Thimble
  • Needle threader (optional) to make it easier to thread needle
  • Fabric scraps – For the top layer in the sample, I used old jeans (100% cotton only) to lend a worn-in look and feel right from the start along with scraps of plaid fabrics. For the middle layer, I used flannel; a scrap of quilt batting would also work. For the backing, I used a piece of 100% cotton duck, something to complement the rugged feel of the front. Read more about the amount you will need in Step 2.

Step 2: Calculate how much fabric you need:

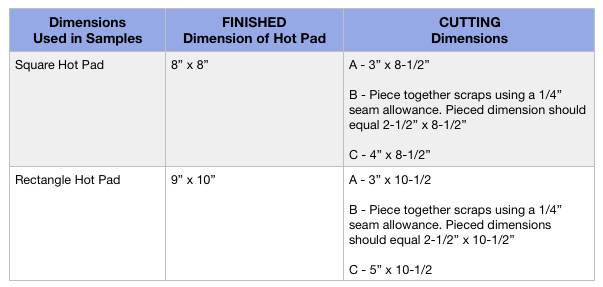
  • First, do a bit of research – what size works best for your favorite bowl? Cut up paper towels and tape together, if nec, to determine the right finished size for your purposes, or stick with the dimensions used in the samples per the table and image below.
  • If you’re calculating your own dimensions, allow 1/4″ seam allowances all the way around.
Hot Pad Sections that Correspond to Cutting Instructions Table
Table of with Cutting Dimensions for Each Fabric Pieces in Hot Pad

Step 3: Cut out the pieces. If you are repurposing clothing, trim away seams.

Trimming away seams on old jeans being used in project

Step 4: Baste the middle layer (flannel or quilt batting) to the WRONG side of the fabric being used for the back. If basting by hand, use a running stitch – see the Soap Bubbles Dish Towel project for the how-to on this stitch.
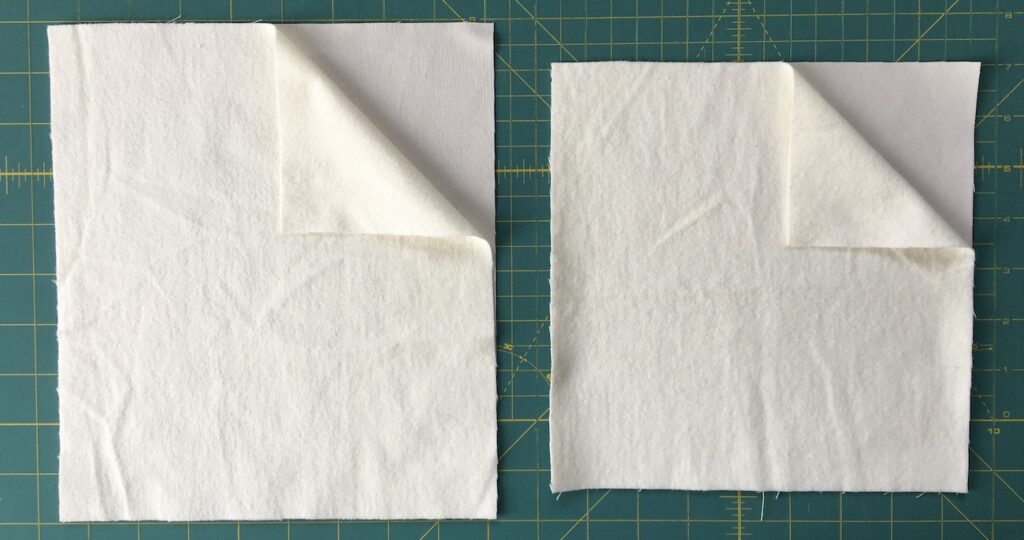
Flannel and Backing Layers of Hot Pad

Step 5: Pin then stitch the quilt front to the quilt back-middle layer with right sides together and using a 1/4″ seam. If you are stitching by hand, use a backstitch. (NOTE: the right side of the top should be facing the right side of backing.) Leave a 3″ opening for turning right side out.
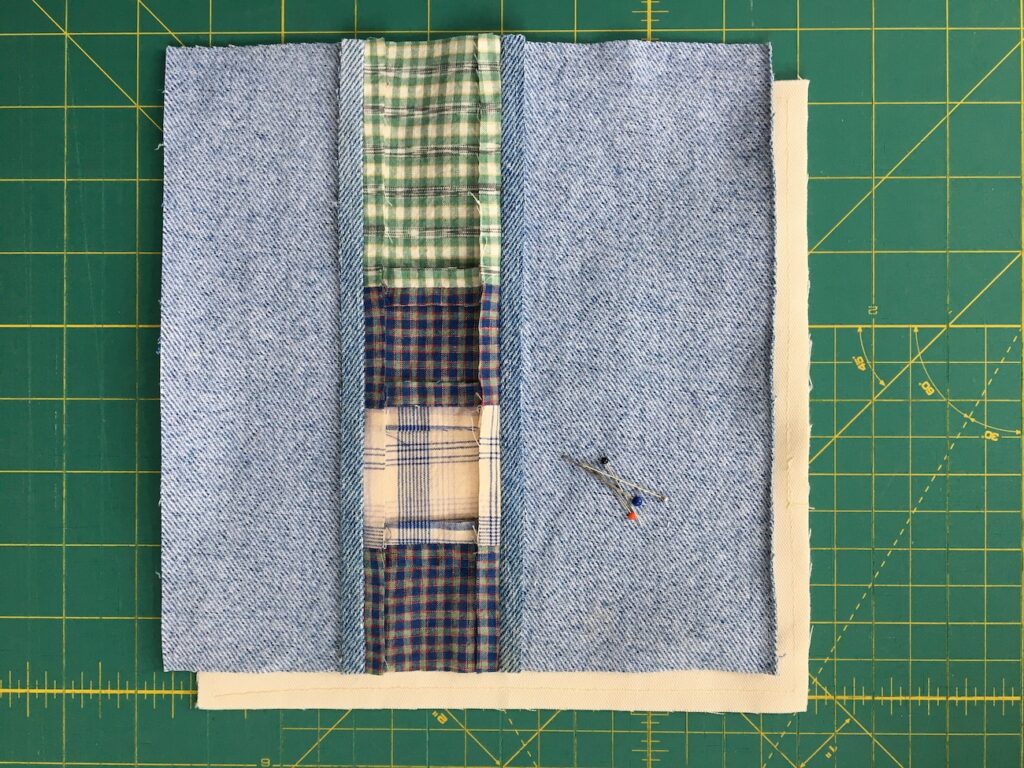
Quilt front and Quilt Back ready to be stitched together

Step 6: Clip the corners to reduce bulk, then turn right-side out using a chop stick to poke corners out. Press flat.
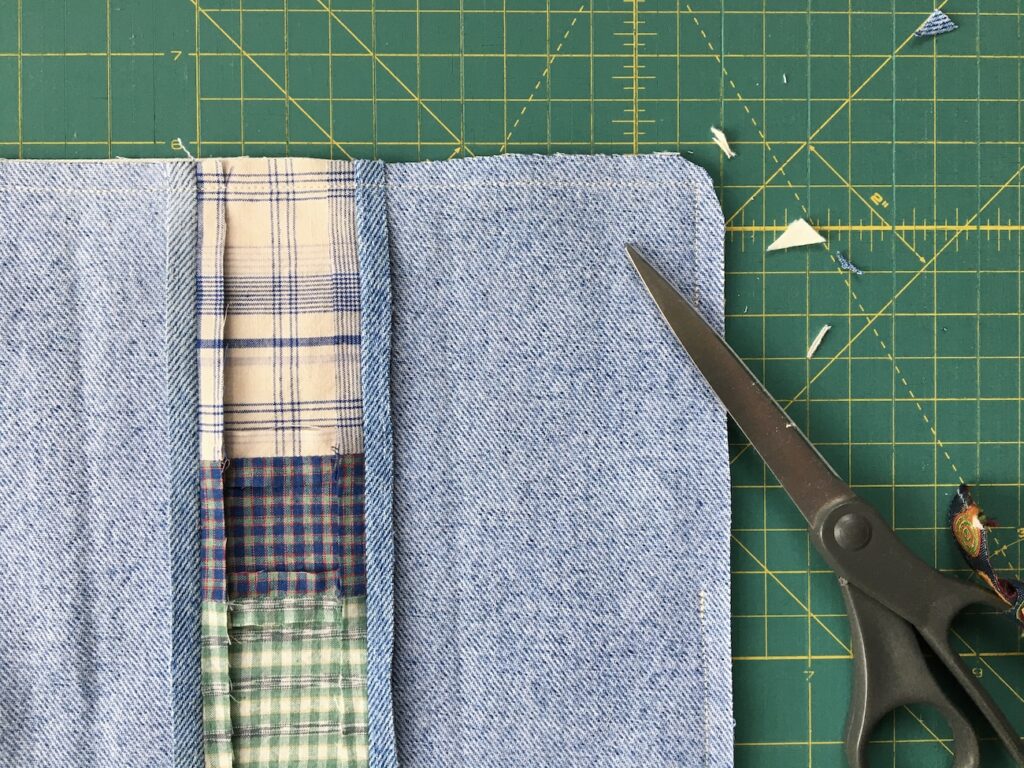
Clipping corners on sewn hot pad

Step 7: Pin, then stitch the opening closed using a hidden (aka invisible) stitch.
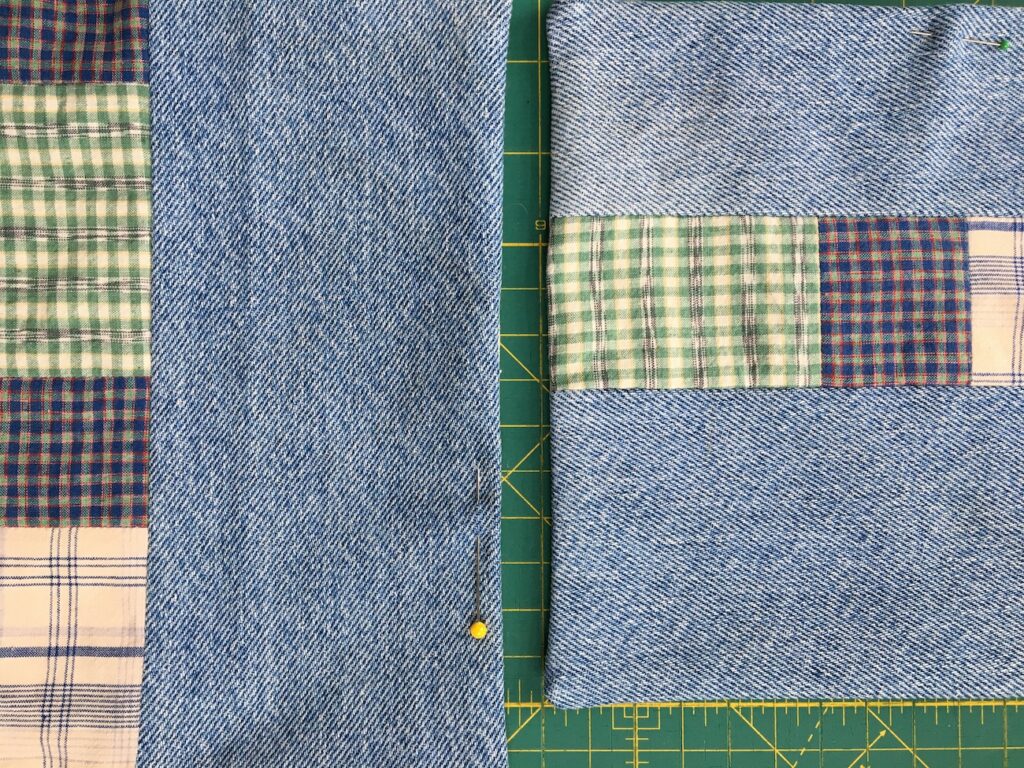
Hot Pad Ready to be Quilted

Step 8: Quilt using a design of your choice.

  • If you are quilting near the seam lines, you can just eyeball the line without marking – just remember to stitch far enough out so that you are not going through multiple layers of fabric – perfectly doable, just hard on the fingers!
  • If you want to mark a design on the surface (like the circular pattern in the sample), use an erasable or disappearing fabric marking pen available at most fabric stores, a Frixion thermo- reactive pen by Pilot, or white school chalk.
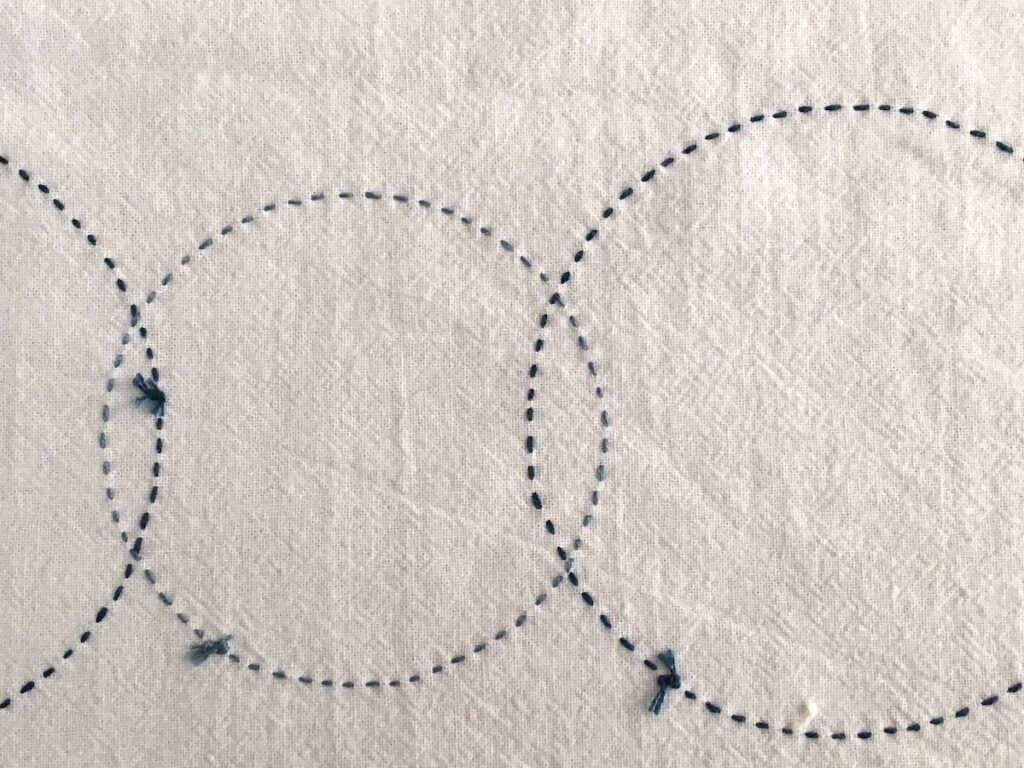
  • In the samples, I used a running stitch- like the basting stitch in Step 4 above, but smaller, consistent stitches – about 7 stitches per inch – with consistent spacing between. See the Soap Bubbles Dish Towel project for more about this stitch.
Hand Quilted Hot Pad Made Denim

Step 9: Use it! Here are some great looking recipes for one-bowl meals!

Post your finished Go-To Hot Pad on social media using the hashtags #ArtEveryday2020 and #togetherapart.

Stay up to date as new projects are posted by following us on Facebook!

Soap Bubbles Dish Towel – An Embroidery Project

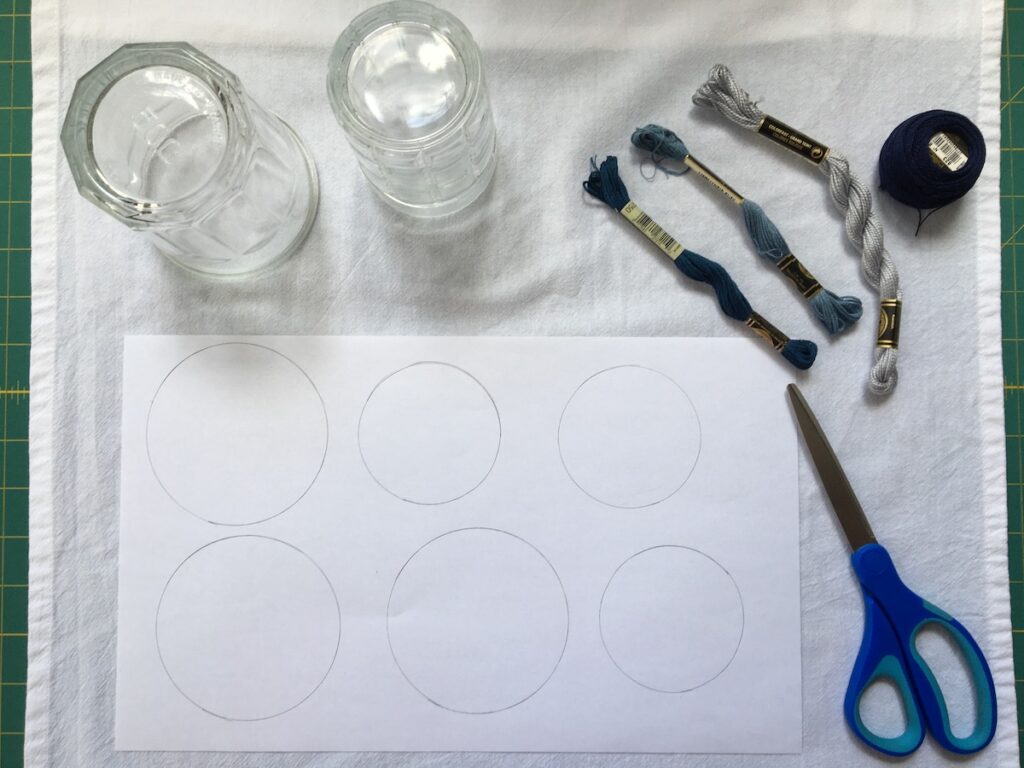
Embroidery Thread and Other Supplies Needed to Stitch Soap Bubbles Dish towel

As we all adapt to a new world and daily routine – and spend a lot more time at home in an effort to stop the spread of COVID-19 – I will be sharing some simple projects to do at home over the next several weeks… all with a made-by-hand theme, including needlework, quilting, cooking, etc.

The projects are designed to make use of supplies you already have on hand – or, that you can hopefully find in local stores that are offering curbside pickup and mail order. On occasion, I will also offer a related pattern in the shop that provides more finishing options or other design details.

Do the projects on your own as a quiet break to process events and to simply focus on the project at hand… Connect with a friend or relative virtually to do a project together… Gather your family around the table to learn something new.

First up: the Soap Bubbles Dish Towel. This embroidery project features a white cotton dish towel embroidered with a simple, modern soap bubble pattern. Here’s the how-to:

Step 1: Gather your supplies:

  • White or other solid color 100% cotton dishtowel – brand new or one from your kitchen drawer – washed and pressed.
  • Embroidery floss – 2 or more skeins. In the sample, I used DMC #3750 (dark blue) and DMC #931 (medium grey-blue). If kids are working on the project with you, consider letting each one stitch a circle in the color of their choice. (Please note- image below includes a sample of possible threads.)
  • Assorted glasses, spice jars, and canned goods to experiment w/ different circle sizes. The sample incorporates two sizes: 2-3/4″ and 3-1/2″.
  • Pencil or Frixion, a thermo reactive pen from Pilot (markings disappear when you ironed) to mark the design on the towel. See more details below.
  • Embroidery hoop – ideally, large enough to accommodate your largest circle. In the sample, I used a 6″ hoop.
  • Embroidery needle – Size 5 – For this project, you can use a regular sewing needle as long as you can get 3 strands of embroidery floss threaded through the eye.
  • Scissors
Supplies needed to stitch soap bubble dish towel project - including threads, scissors, circle shapes

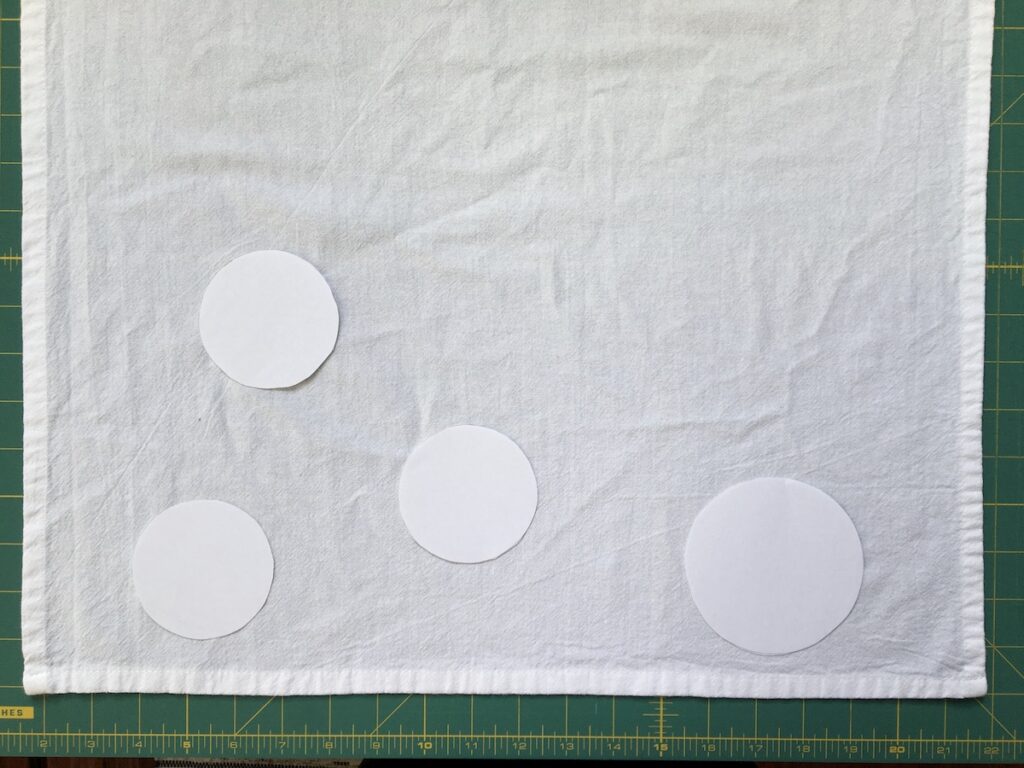
Step 2: Play with your circle sizes and layout:

  • Decide on the stitching area – remember to keep it doable so that the dishtowel does not end up in a basket of unfinished projects.
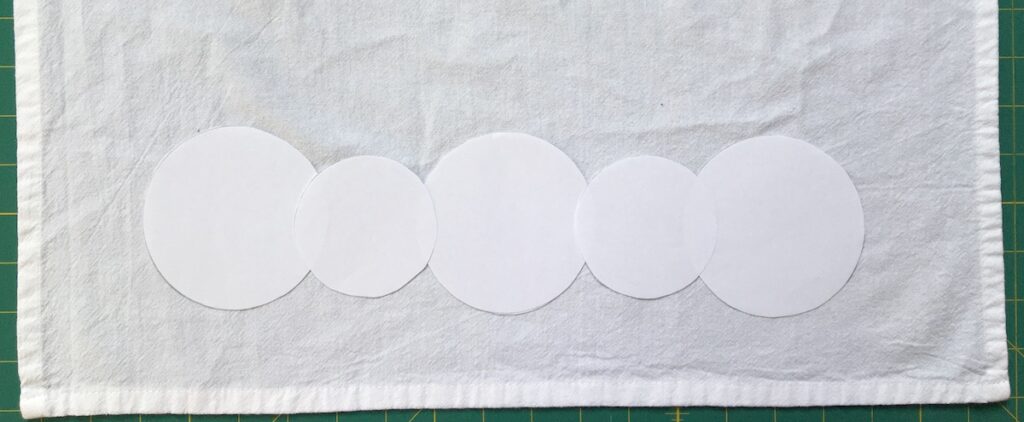
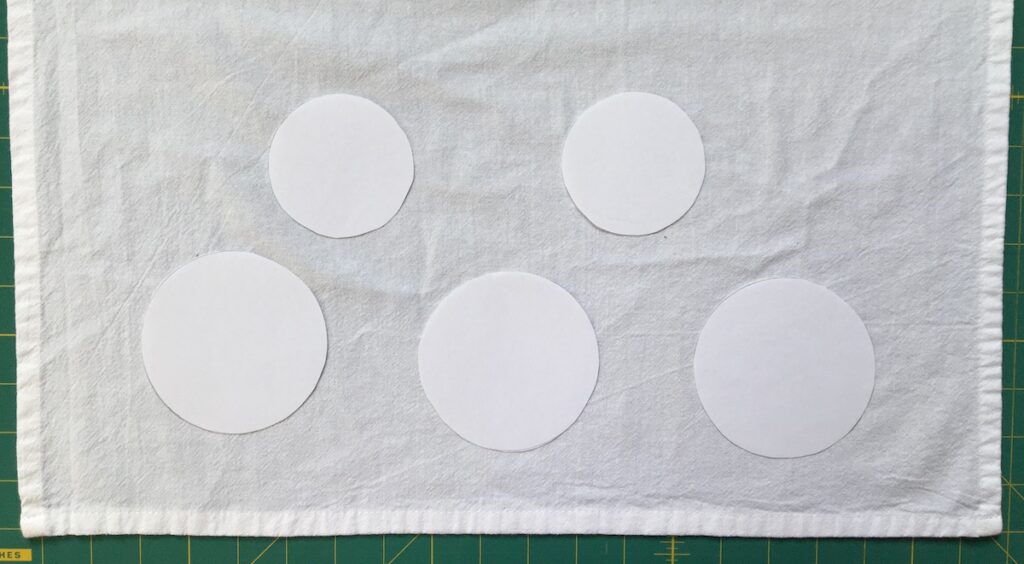
  • Look at how the circles interact with one another and look at the negative space, the area between circles. Are you going for a more formal look w/ bubbles in a specific pattern (like in the sample) or more informal design w/ circles placed somewhat randomly (like bubbles drifting up).
  • Mark the center and make a rule line w/ masking tape if using a formal layout like in the sample.
  • Trace the design when you are pleased with the layout, using a fabric marking pencil (available in most quilt shops); a lead pencil (press VERY lightly, and make a short dashed line that can be covered w/ stitches just in case the pencil marking does not wash out); or a Frixion thermo reactive pen by Pilot (the design disappears when you iron it). With all of these methods, I suggest using a dashed line rather than a solid line – it will be easier to see.
Layout option of Circles on Soap Bubble Dishtowel Embroidery Project

Step 3: Start stitching but first stake out a comfy place to work with good lighting:

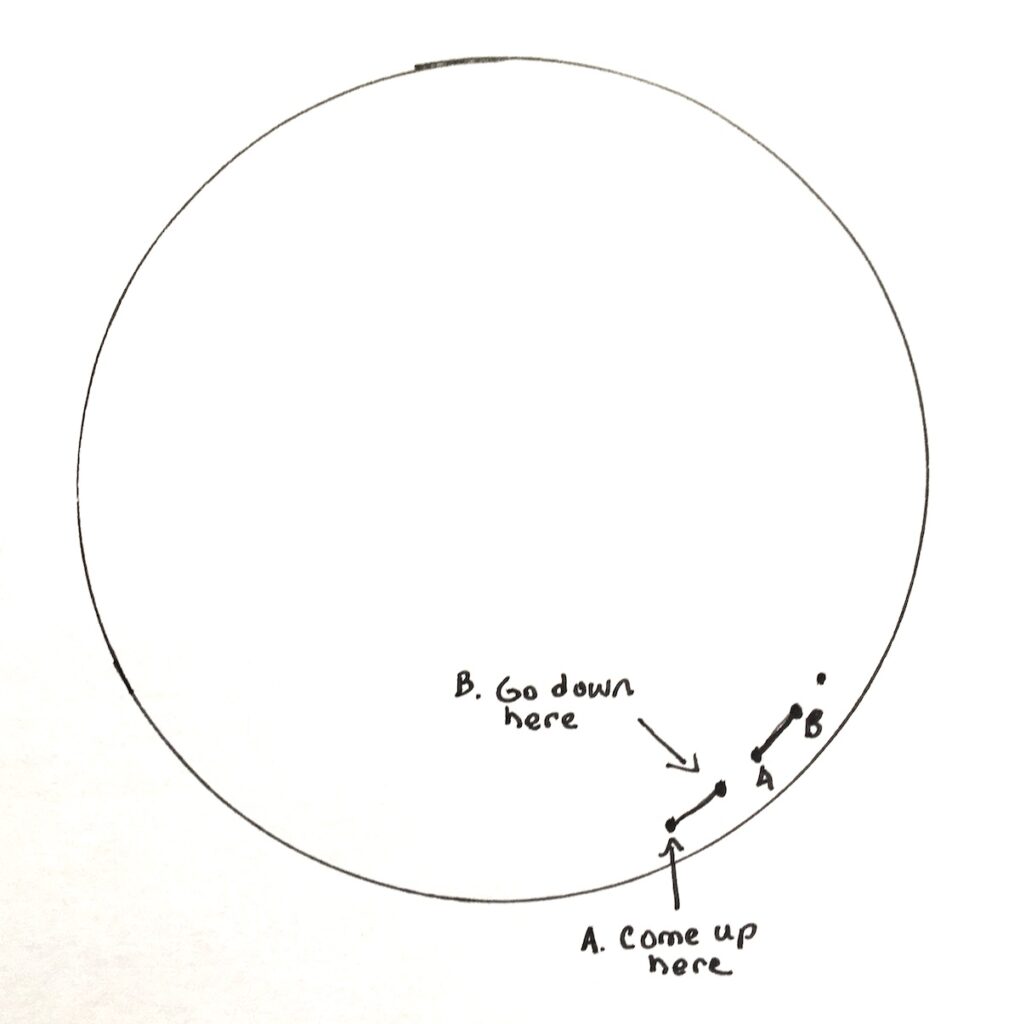
  • Stitch the soap bubbles using a running stitch – aka basting stitch. Thread your needle w/ 3 strands of embroidery floss cut to a length of about 14″. See the video on Facebook for other tips about working with floss. (Even if you’re not on Facebook, you should still be able to see the video.)
  • Follow the sketch below for how to make the stitch – or watch the video on Facebook for a demo. Start with the circle that is closest to the center of your design.
  • Make stitches using a consistent stitch length and consistent spacing between stitches. The first circle might be a bit rough, but I suggest you keep stitching – this project is a record of your learning in a way. In the sample, there are about 7 stitches per inch.
  • Start each circle in about the same spot to keep the back a bit more neat.
Running embroidery stitch directions
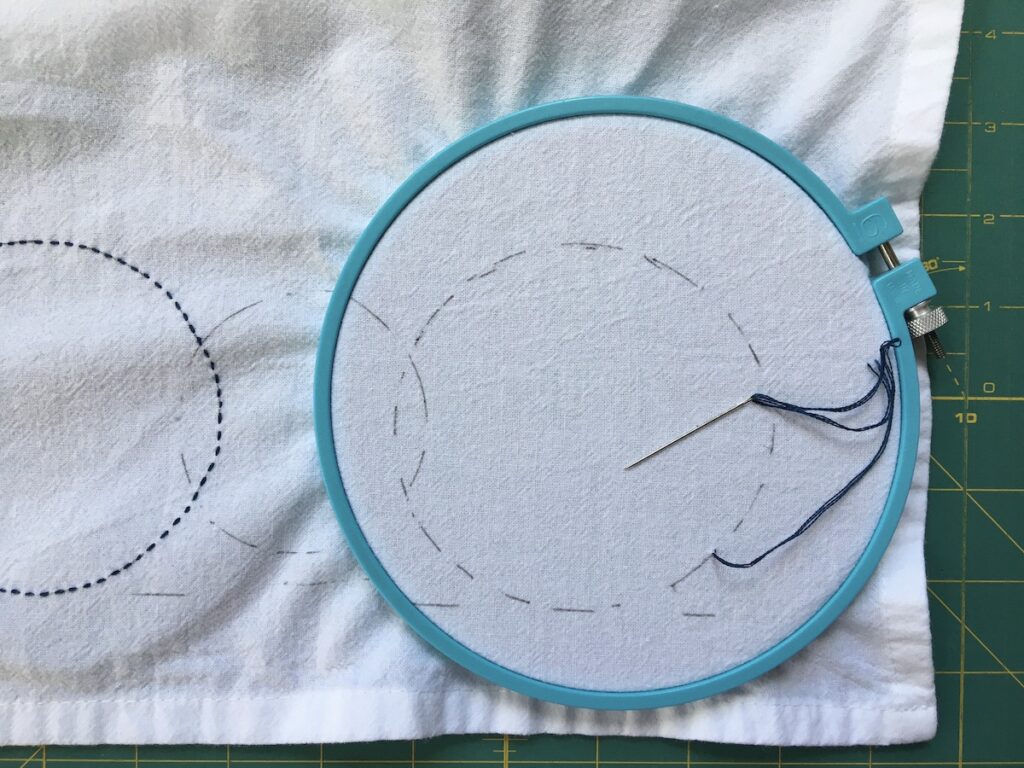
Soap Bubble Dish Towel with Embroidery Hoop Partially Finished
Finished Soap Bubble Dish Towel
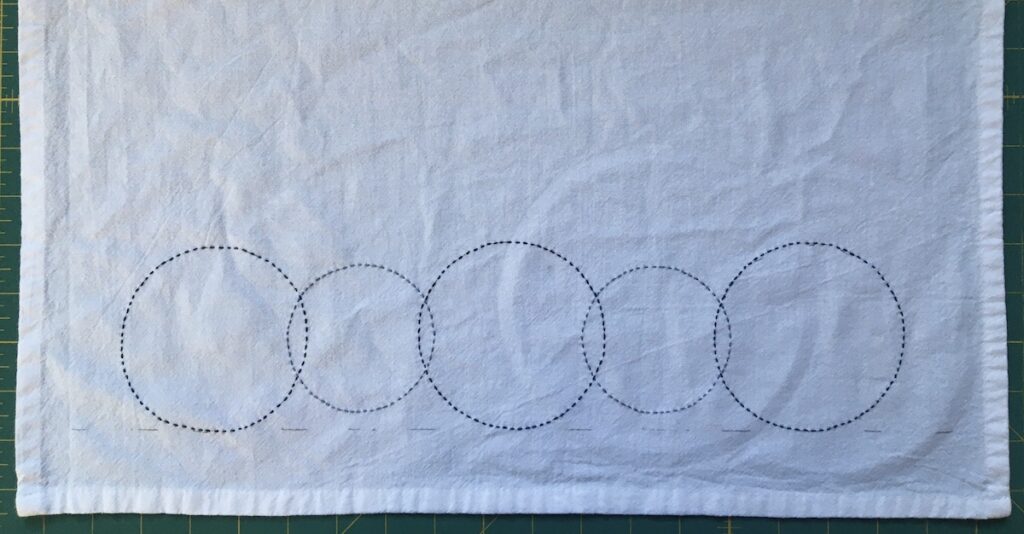
Back of Completed Soap Bubble Dish Towel

Post your finished Soap Bubble dishtowels on social media using the hashtags #ArtEveryday2020 and #togetherapart.

Stay up to date as new projects are posted by following us on Facebook!
Doodle, Reflect, and Plan

If you typically throw your calendar into the recycle bin at the end of the year, you may want to reconsider …

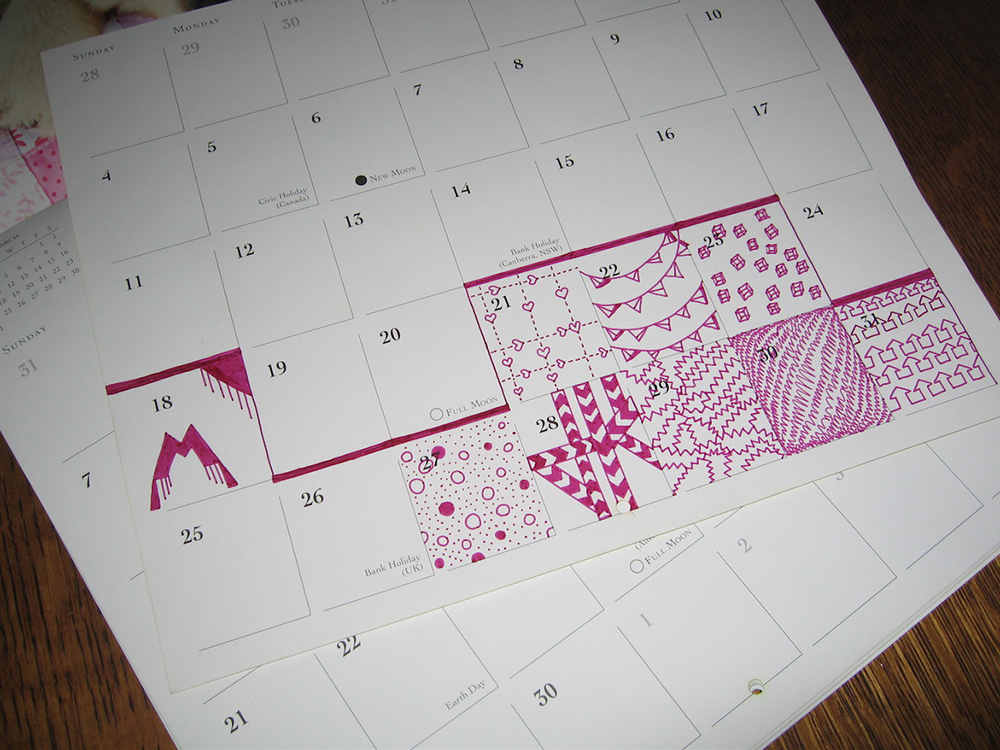
The other day, I walked past my daughter’s room where she was quietly embellishing last year’s wall calendar using a magenta Sharpie and a ruler; she has continued to work on it over holiday break, taking her time and carefully considering how she wants to fill in each square.

While it is a wonderfully simple creative exercise – treating each square as its own canvas, each page as its own gallery is a nice scale to work on (I say having just completed a full-size bed quilt) – it is also so meditative.

So go ahead, retrieve last year’s calendar and pick out your favorite Sharpie color, then find a quiet place to think about the year just past and set intentions for the year ahead. And for my readers who quilt or embroider, you might just discover a new pattern in those doodles!